Now that we have the “setup” articles out of the way – we have selected our hardware, installed Proxmox and set up CPU Thermal Monitoring, we can (finally) start deploying some machines and containers to our homelab! Although one of the first apps/services you would normally deploy would be a custom DNS, we will put that one on the backburner for just a few days so we can get something really tangible up and running: let’s install WordPress. WordPress actually consists of a few services, most notably a MySQL database, a PHP Website and in most cases, something like NGINX or Apache for the hosting setup. We might look at getting all of this set up and running manually as individual services in a future article, but for today we just want to get it up and running as fast (and easily) as possible. Luckily that is possible due to the power of containers.
Step 1: Get the container template
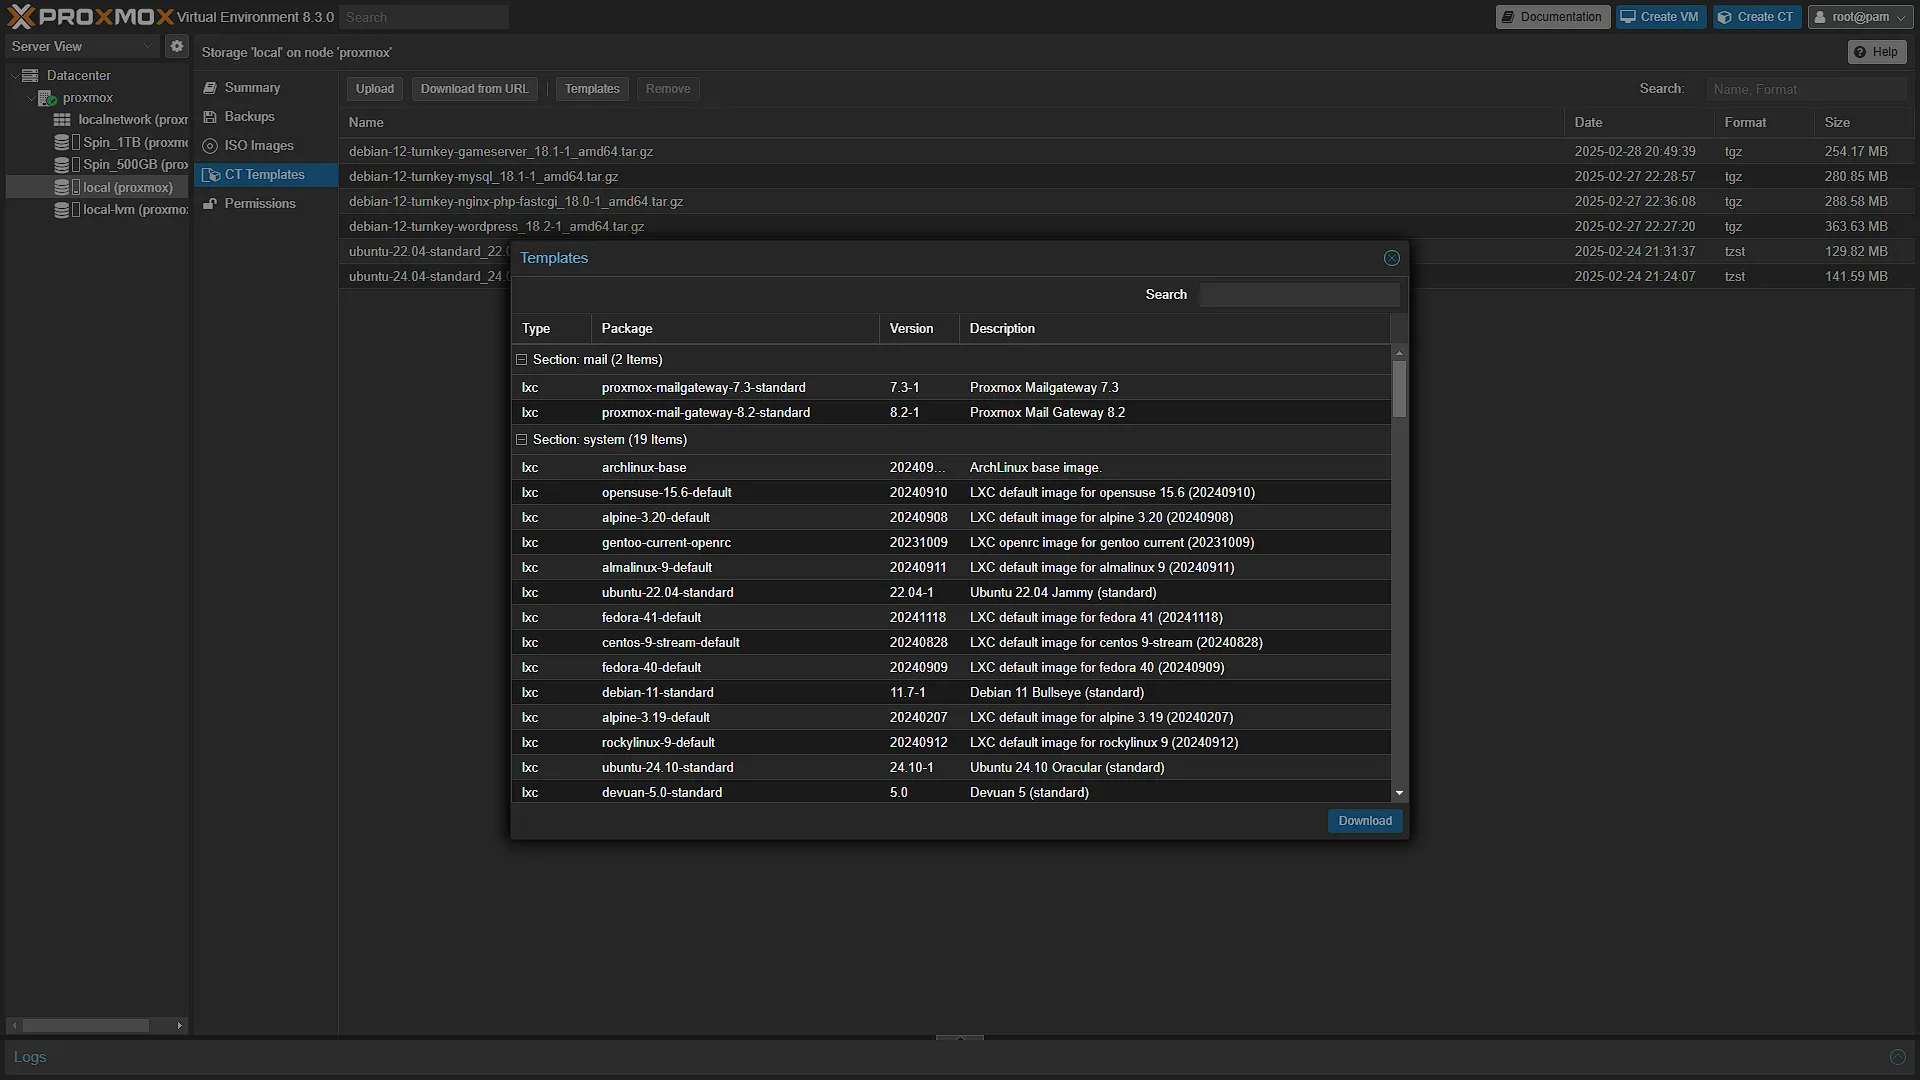
As previously stated, Proxmox uses LXC Containers, and is integrated with Turnkey Linux Containers (Visit the Turnkey Linux Official Site). The first thing we need to do is get the official LCX container template installed. After logging in to your Proxmox instance, in the left navigation pane, select your Promox node and then select the storage device called local. This is the main drive where Proxmox is installed and all our VM and CT (Container) templates. In the middle navigation pane, select CT Templates. The main window will now show all your installed Container Templates. At the top of the list is a button named Templates. Click this to open a list of all official Container templates that can be installed. The list starts with blank Linux operating system container templates and works down to the Turney Linux templates. We are looking for the WordPress one, so search for wordpress and select that container and click ![]() . Once the download is complete, we can continue to getting an instance of the container set up.
. Once the download is complete, we can continue to getting an instance of the container set up.
Step 2 – Create a new container
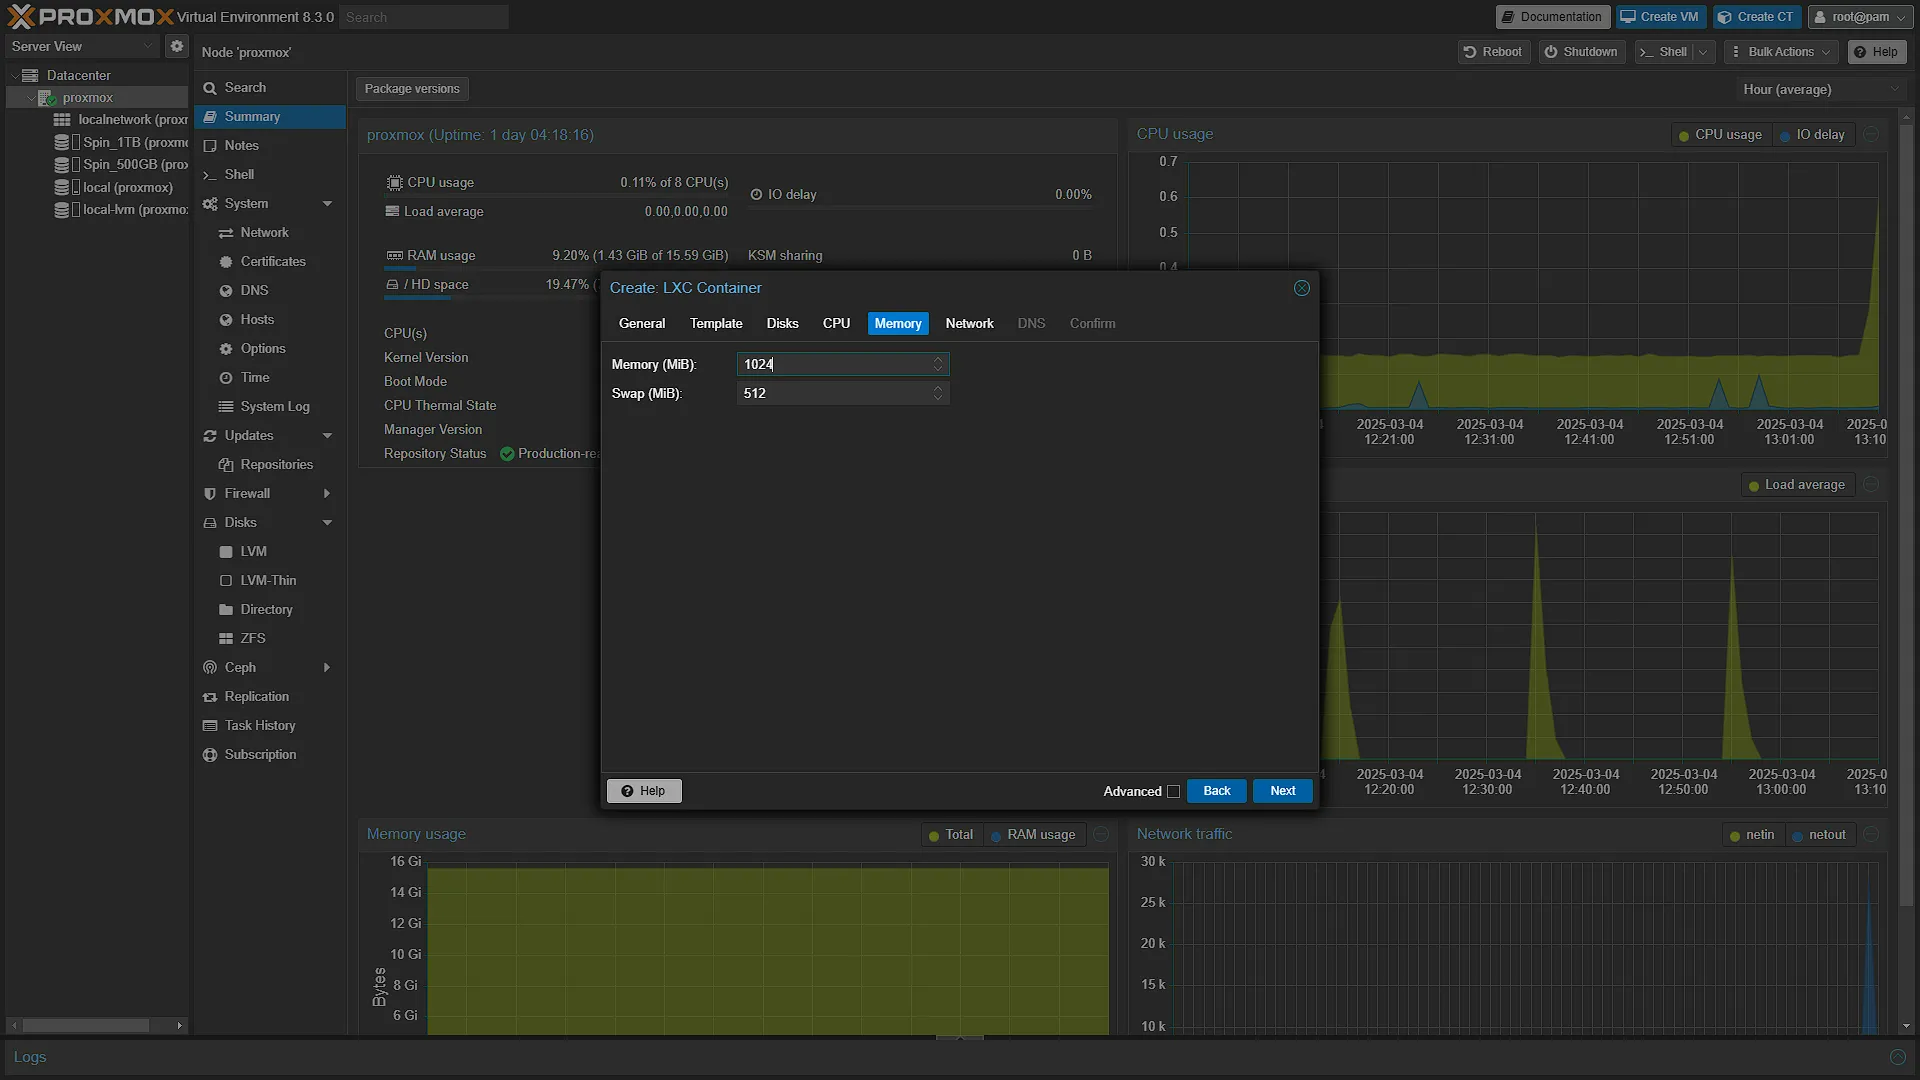
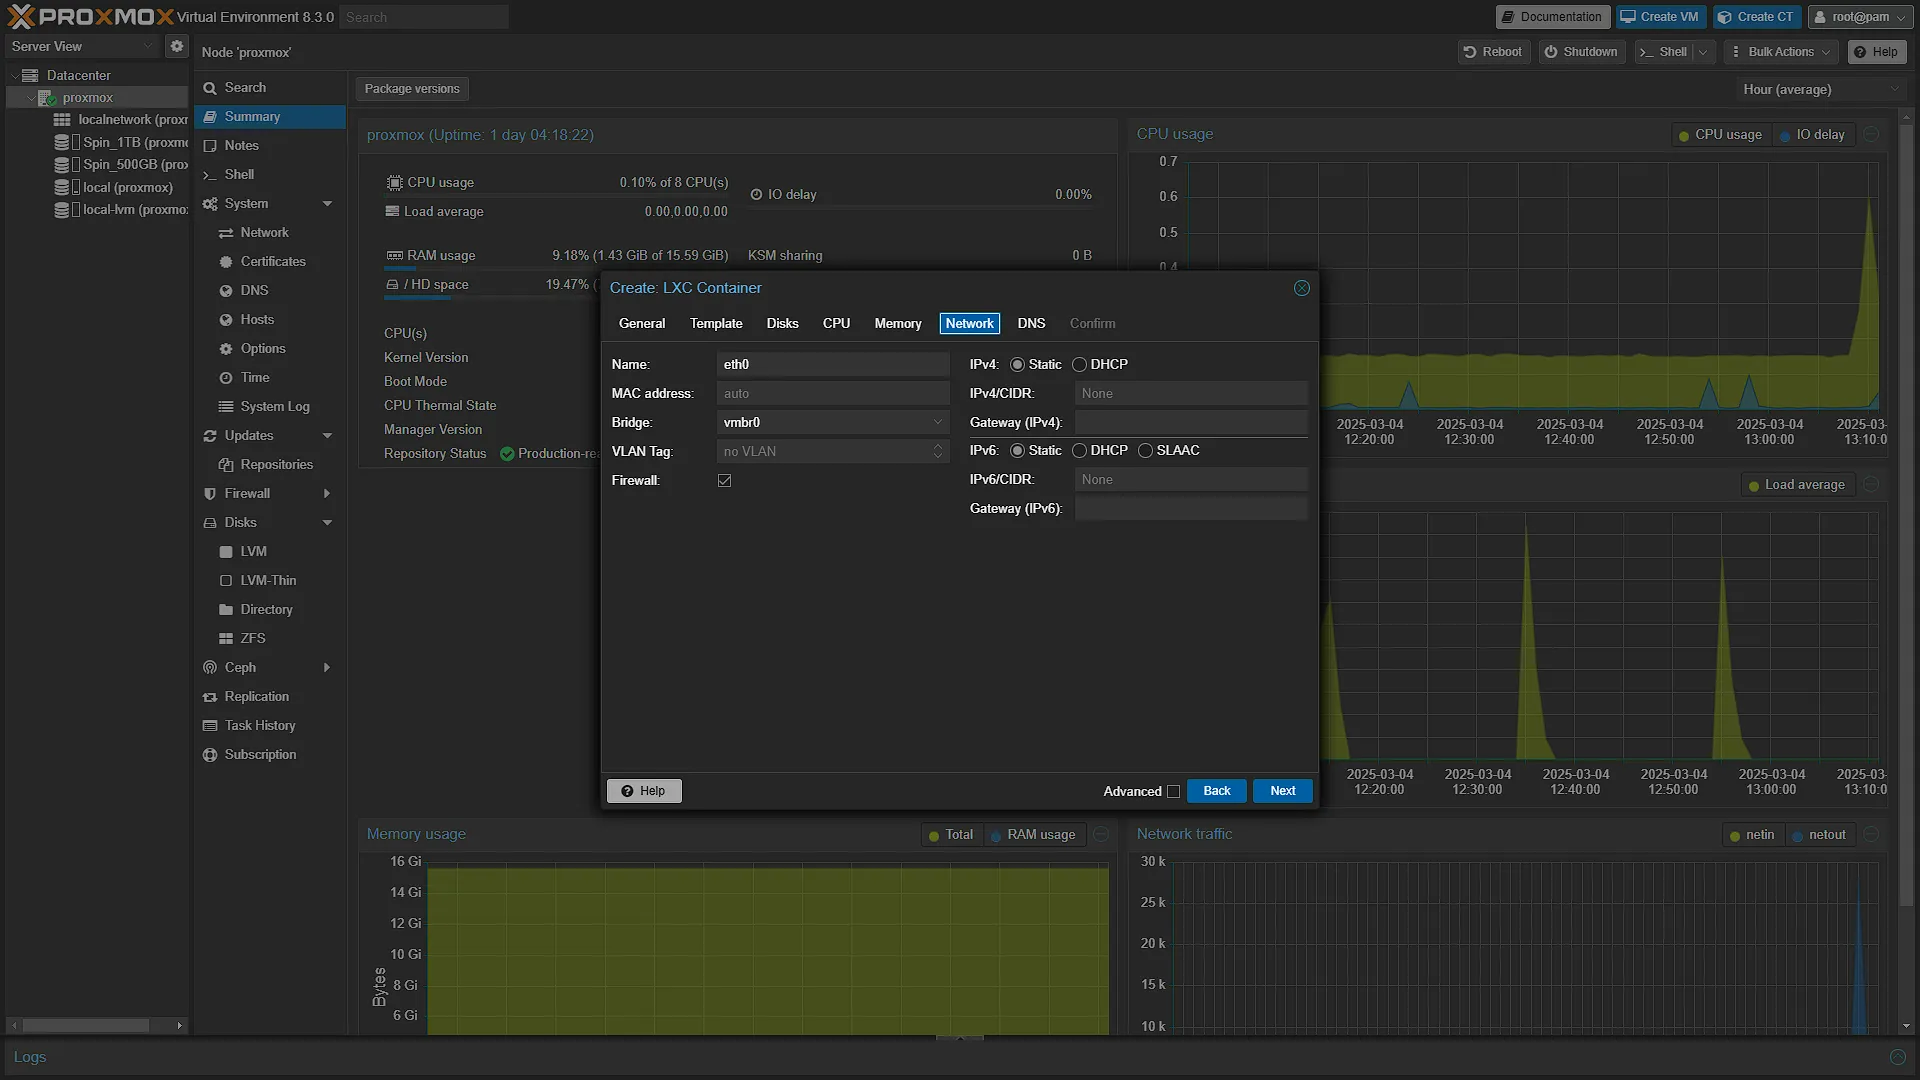
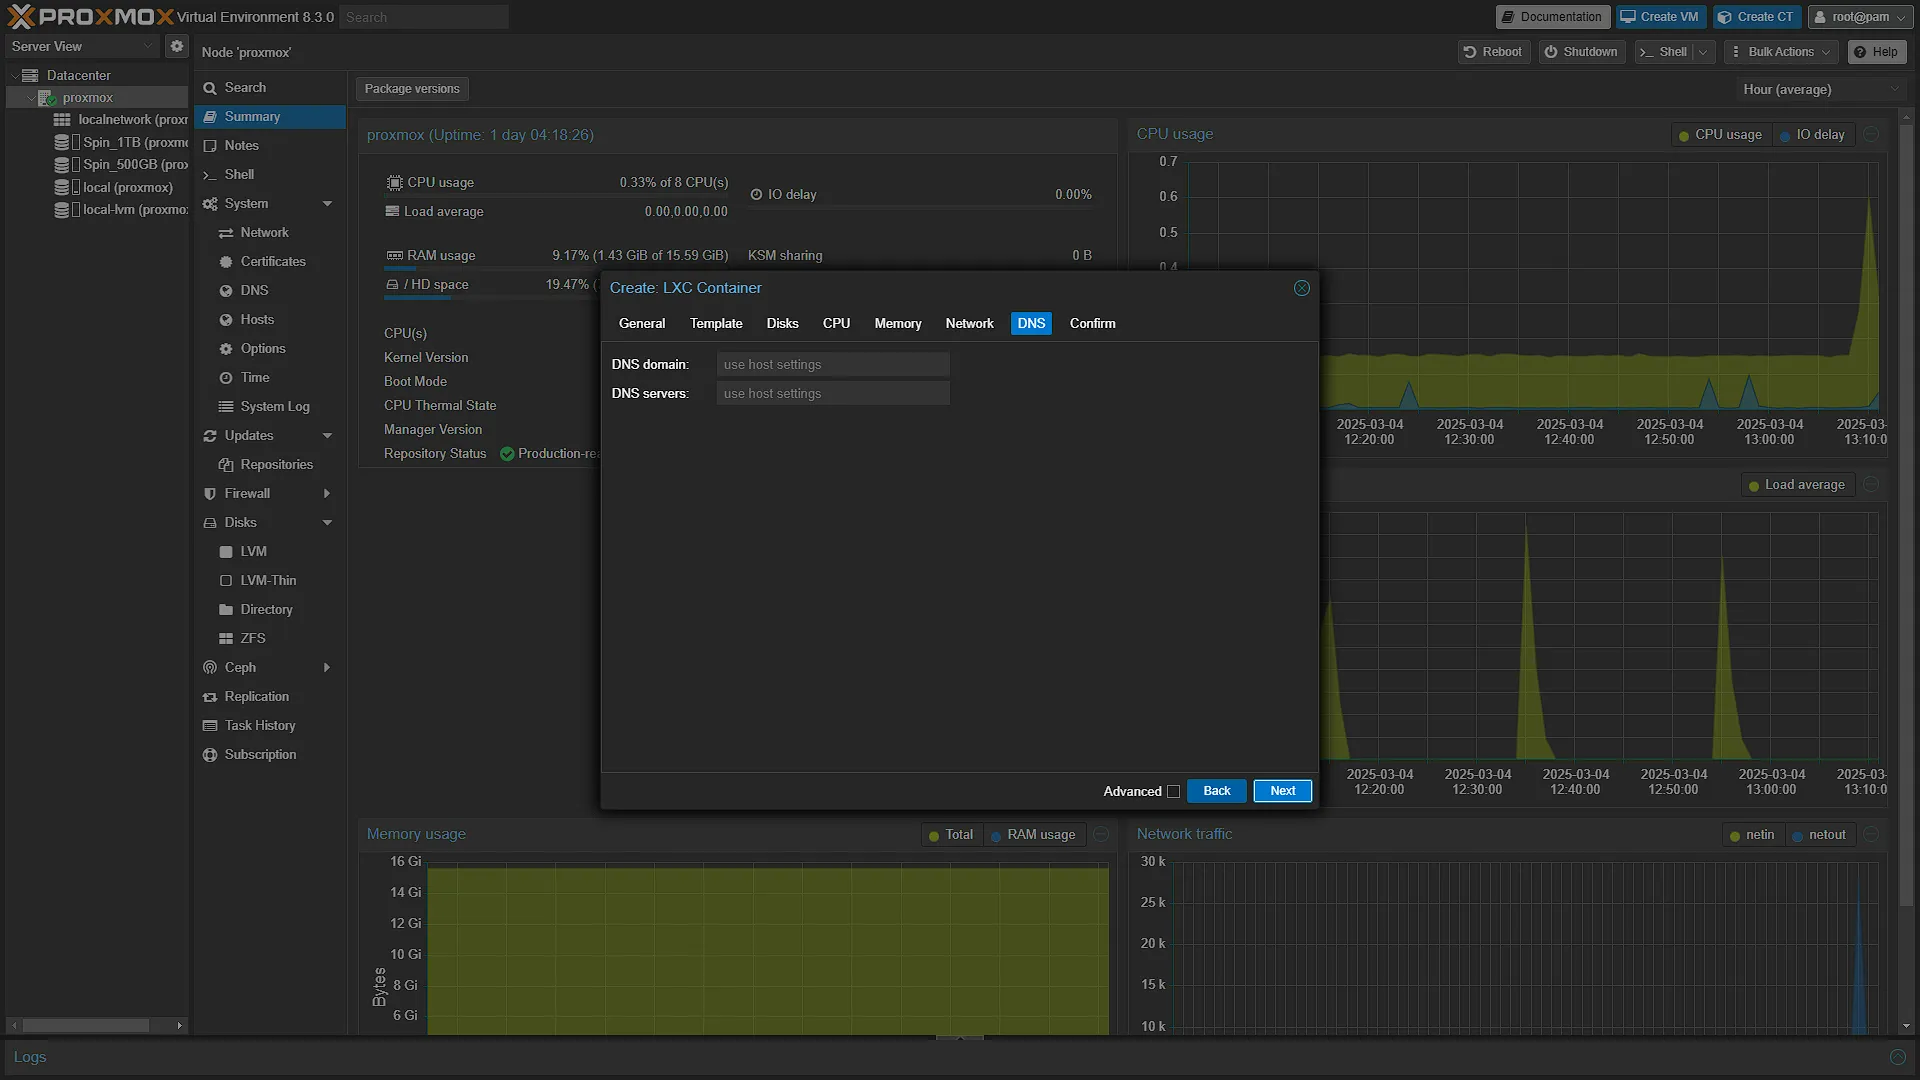
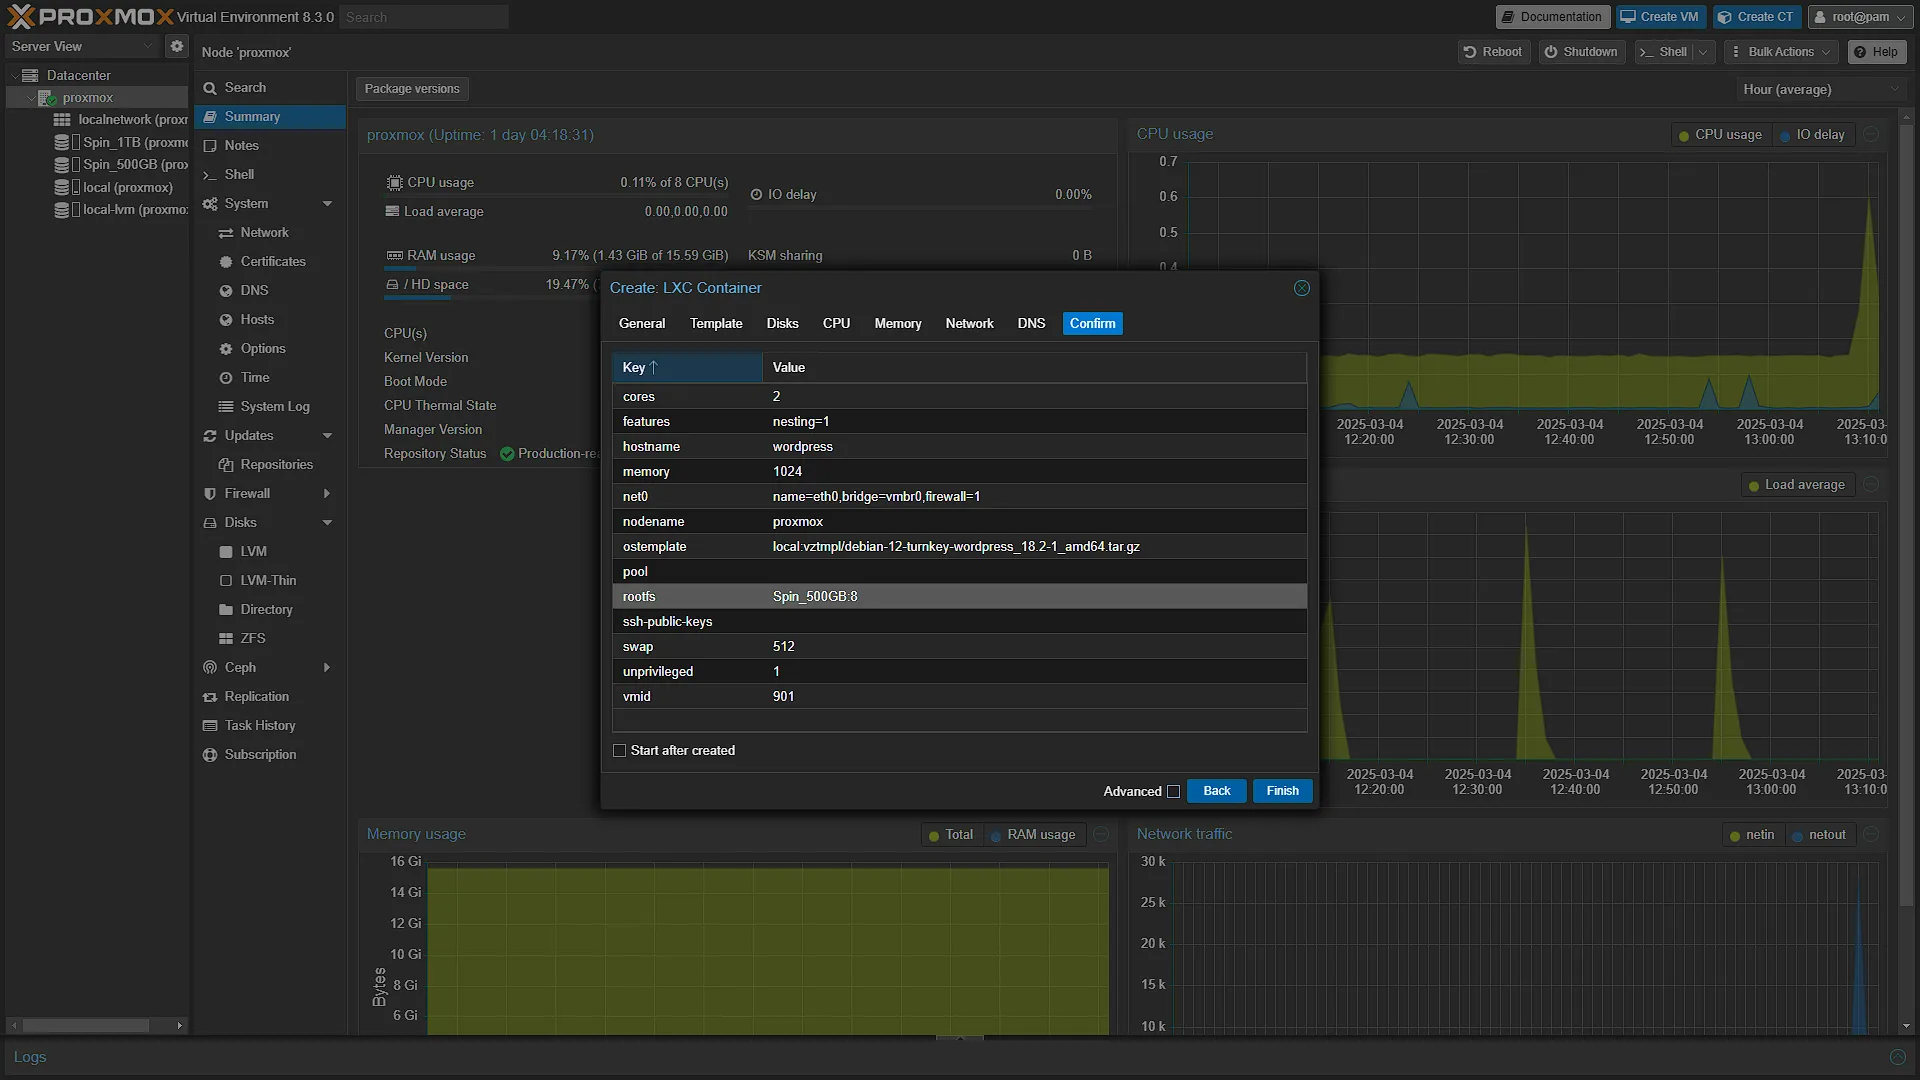
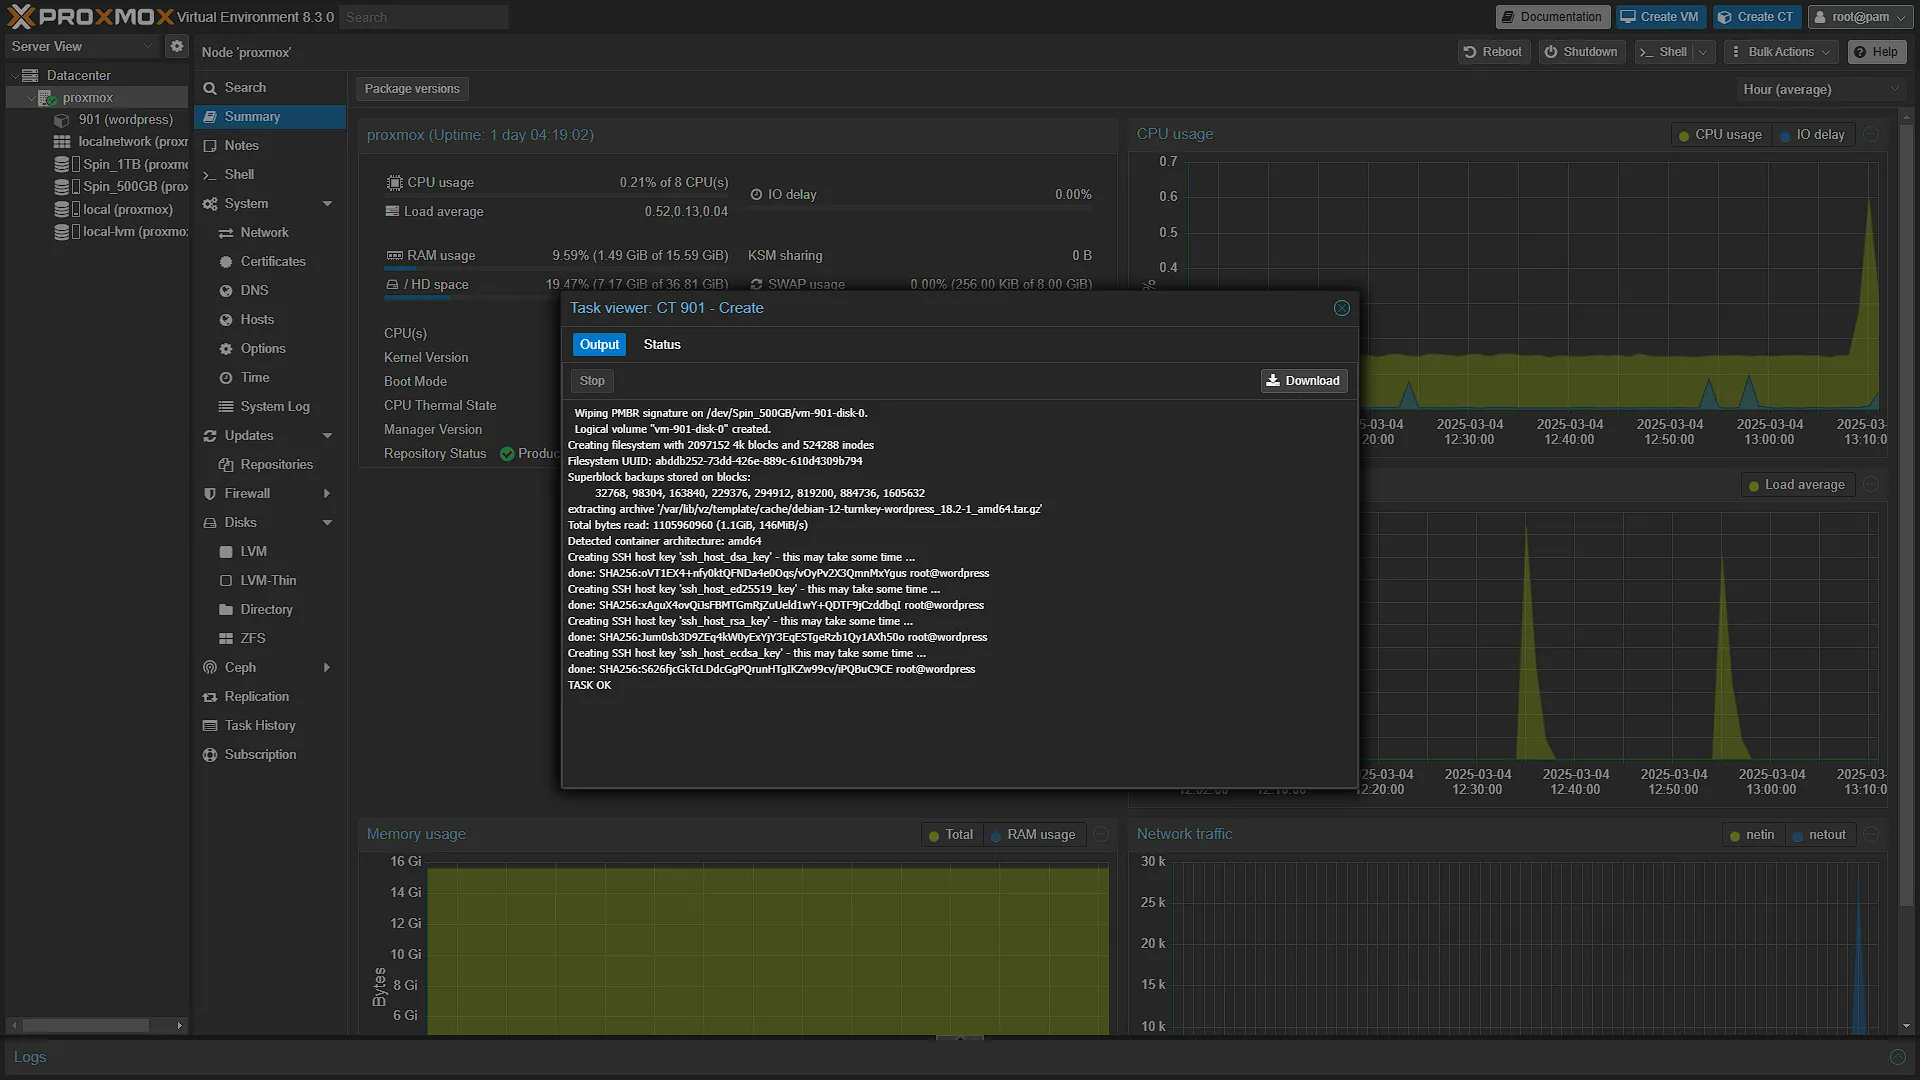
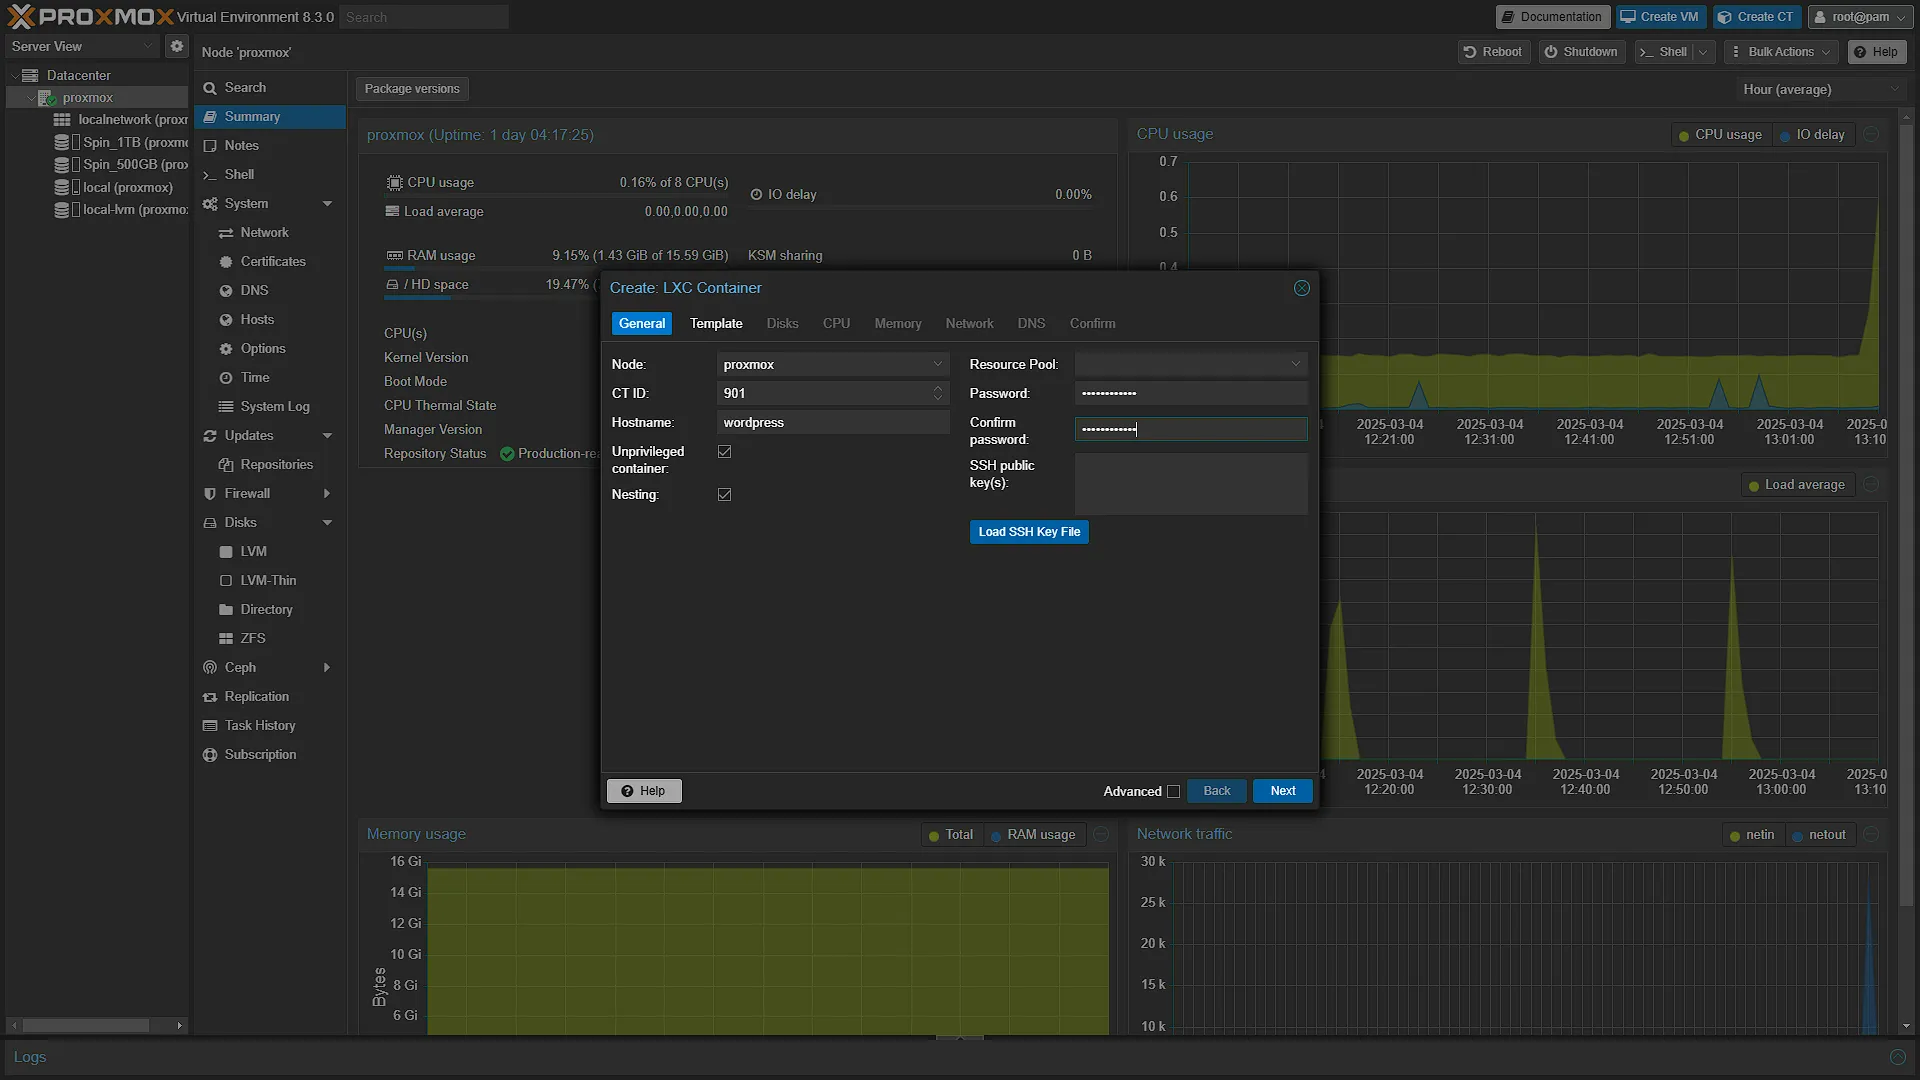
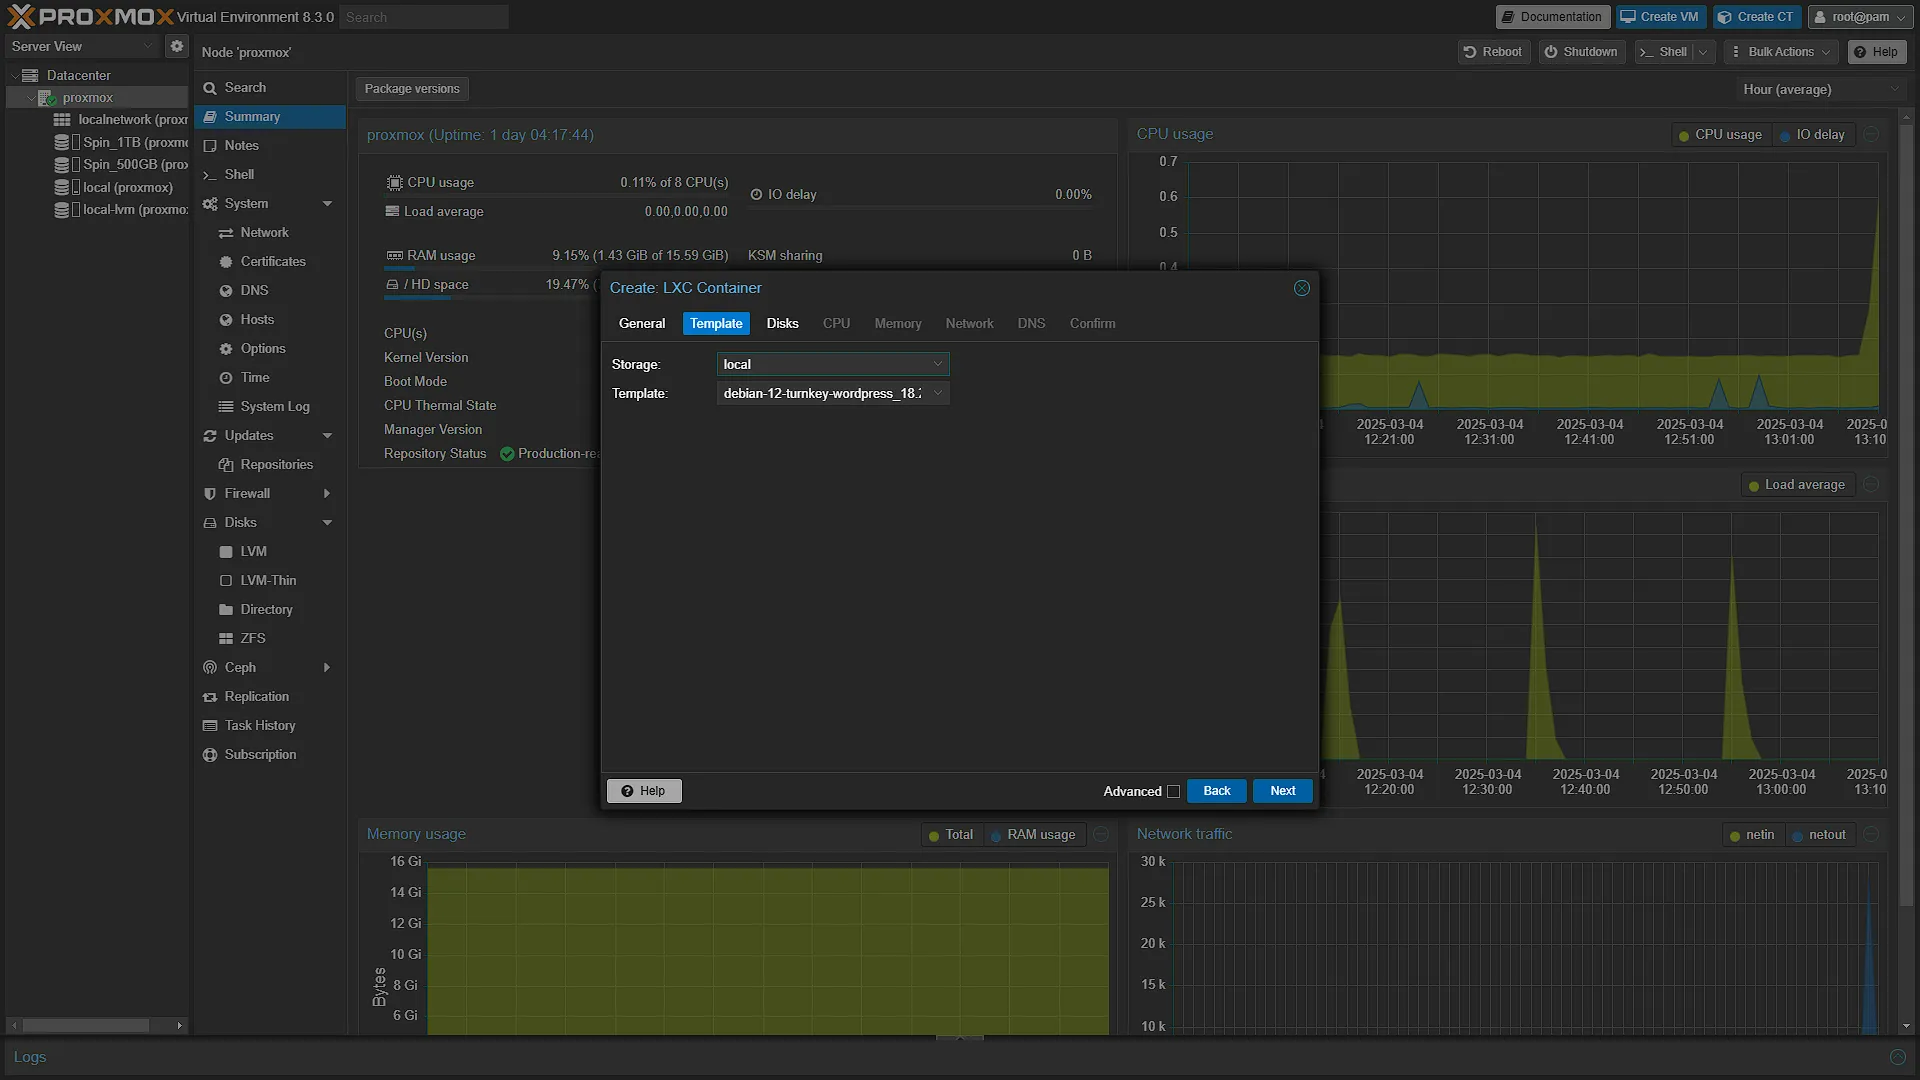
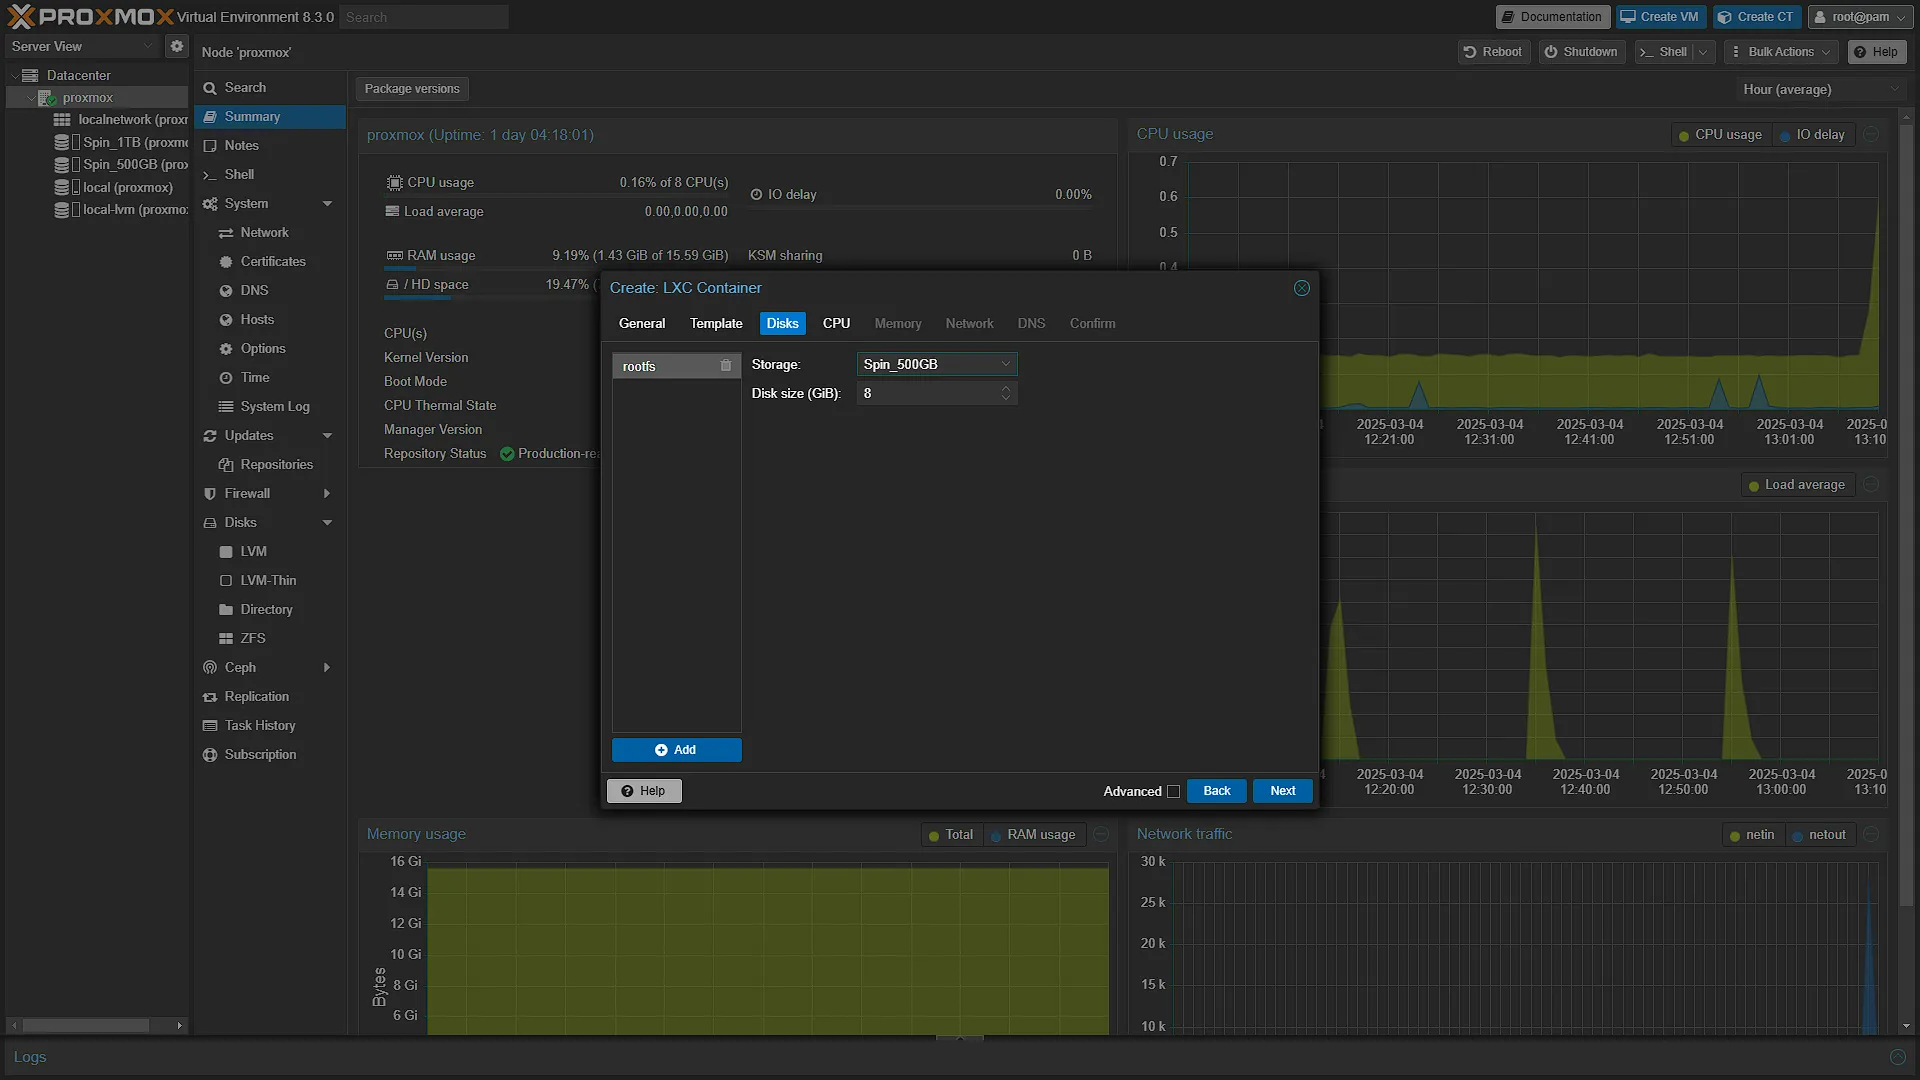
Now that we have the template, we can create a new instance of that container template. In the top right there is button ![]() . This button will create a new instance of a LCX Container Template. Click the button to open the new container window and go through each of the screens one by one until the last:
. This button will create a new instance of a LCX Container Template. Click the button to open the new container window and go through each of the screens one by one until the last:
Step 3 – Set up Turnkey Linux Container
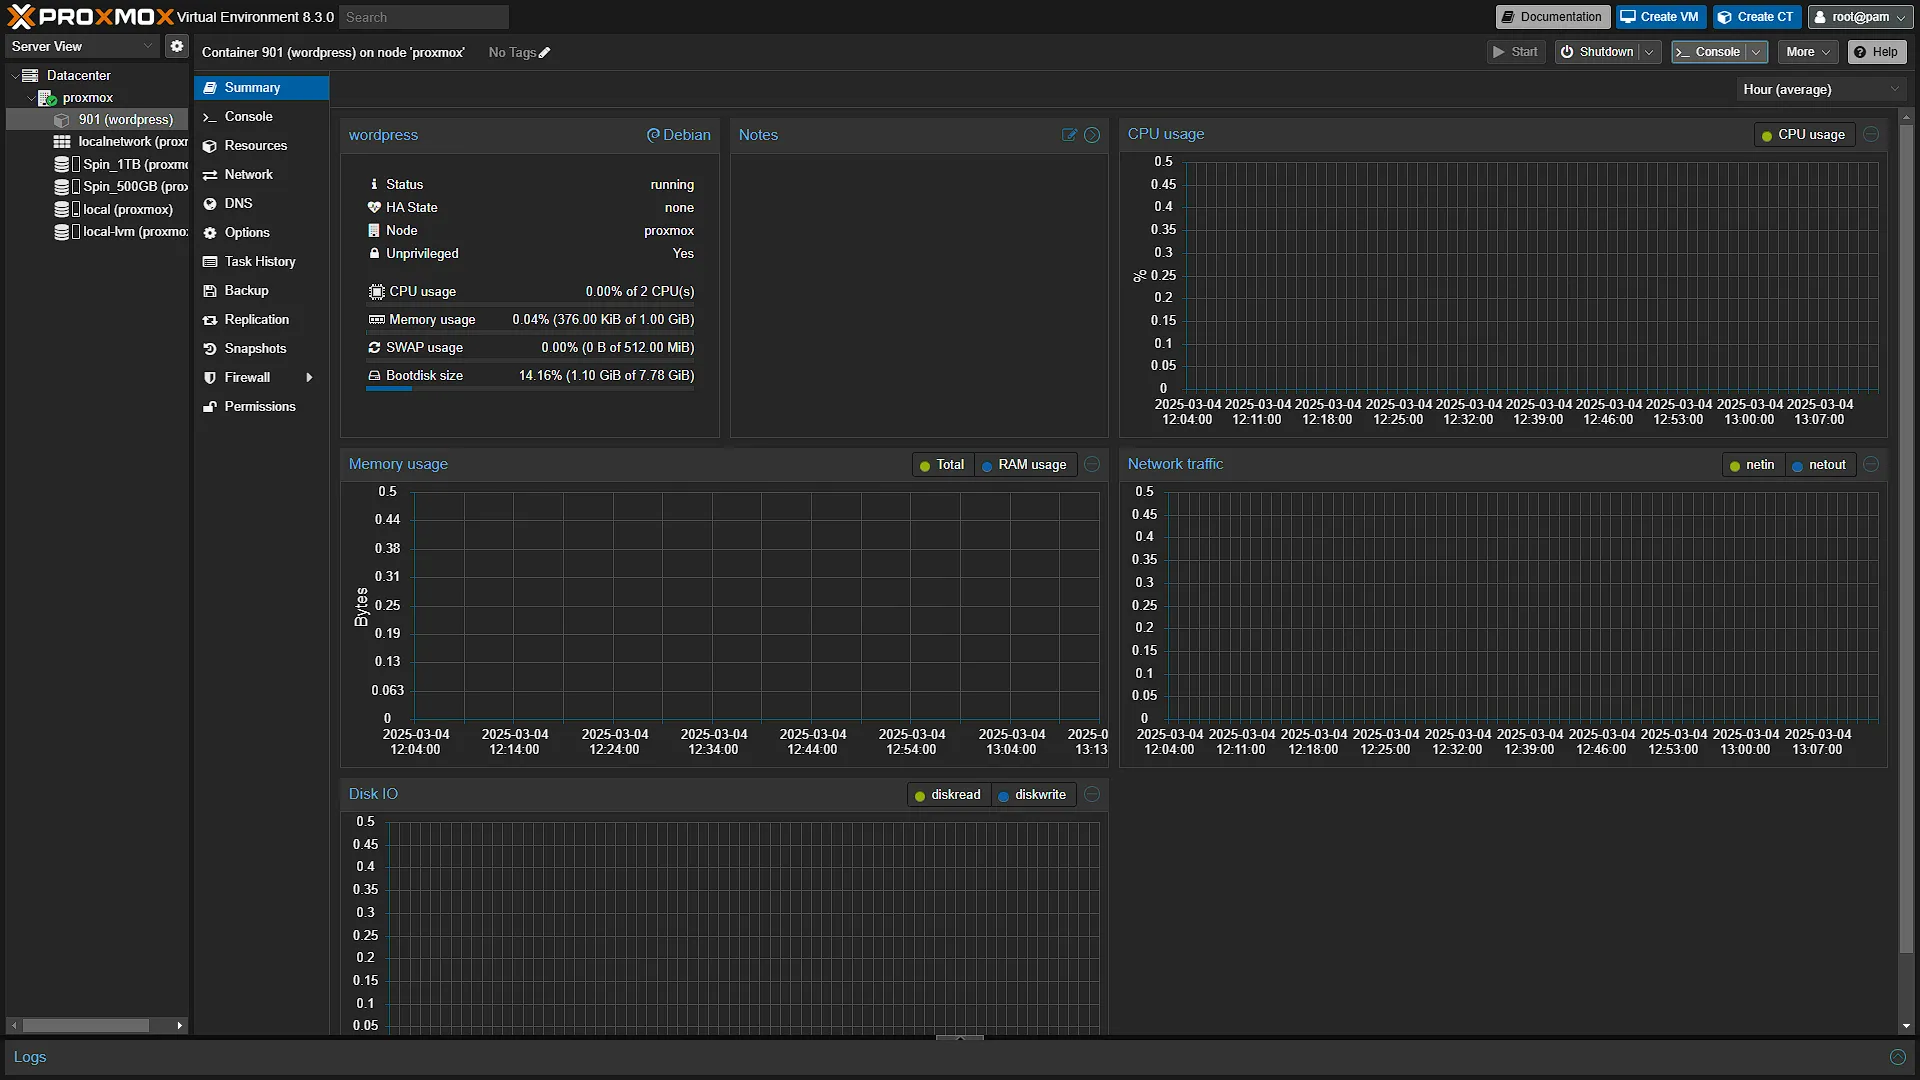
Now that the container has been created, go to the Proxmox left navigation pane and select the newly created container. If it has not been started, please click ![]() . Once the container has started, in the middle navigation pane, go to
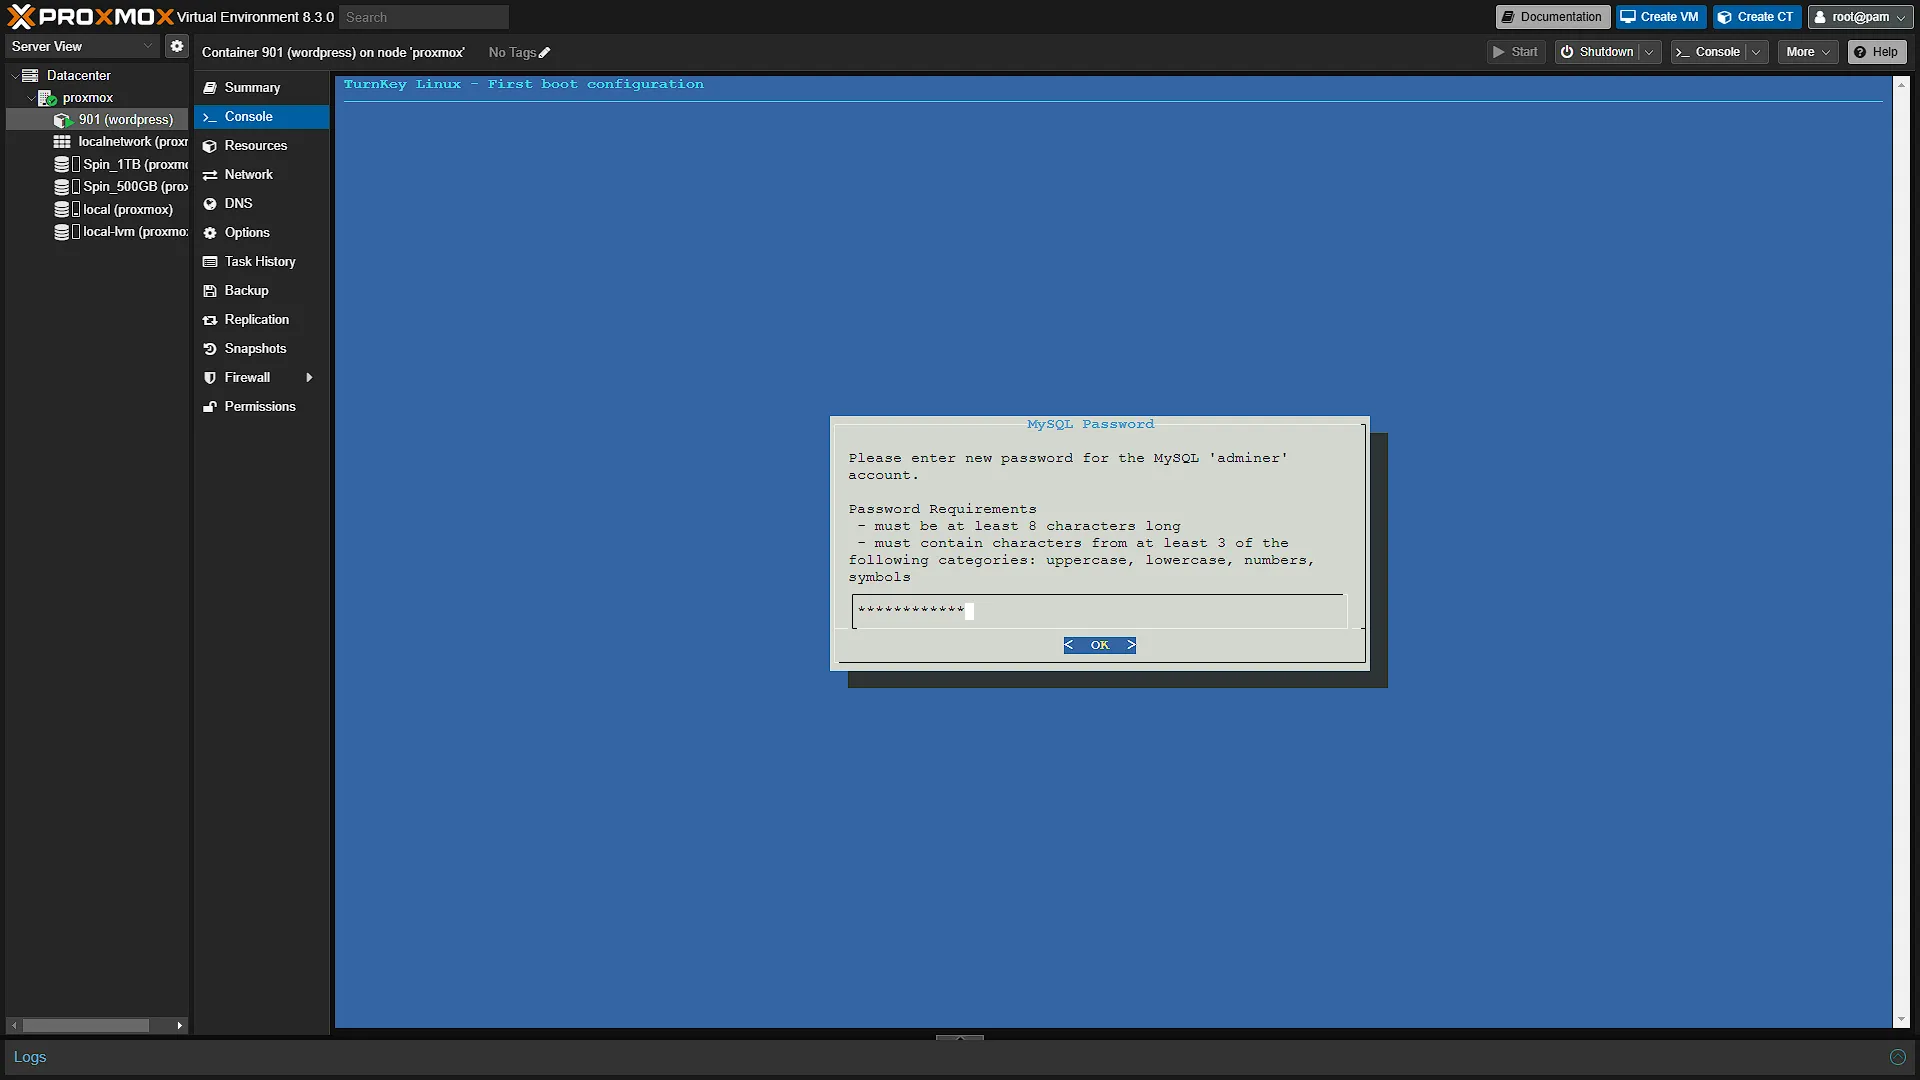
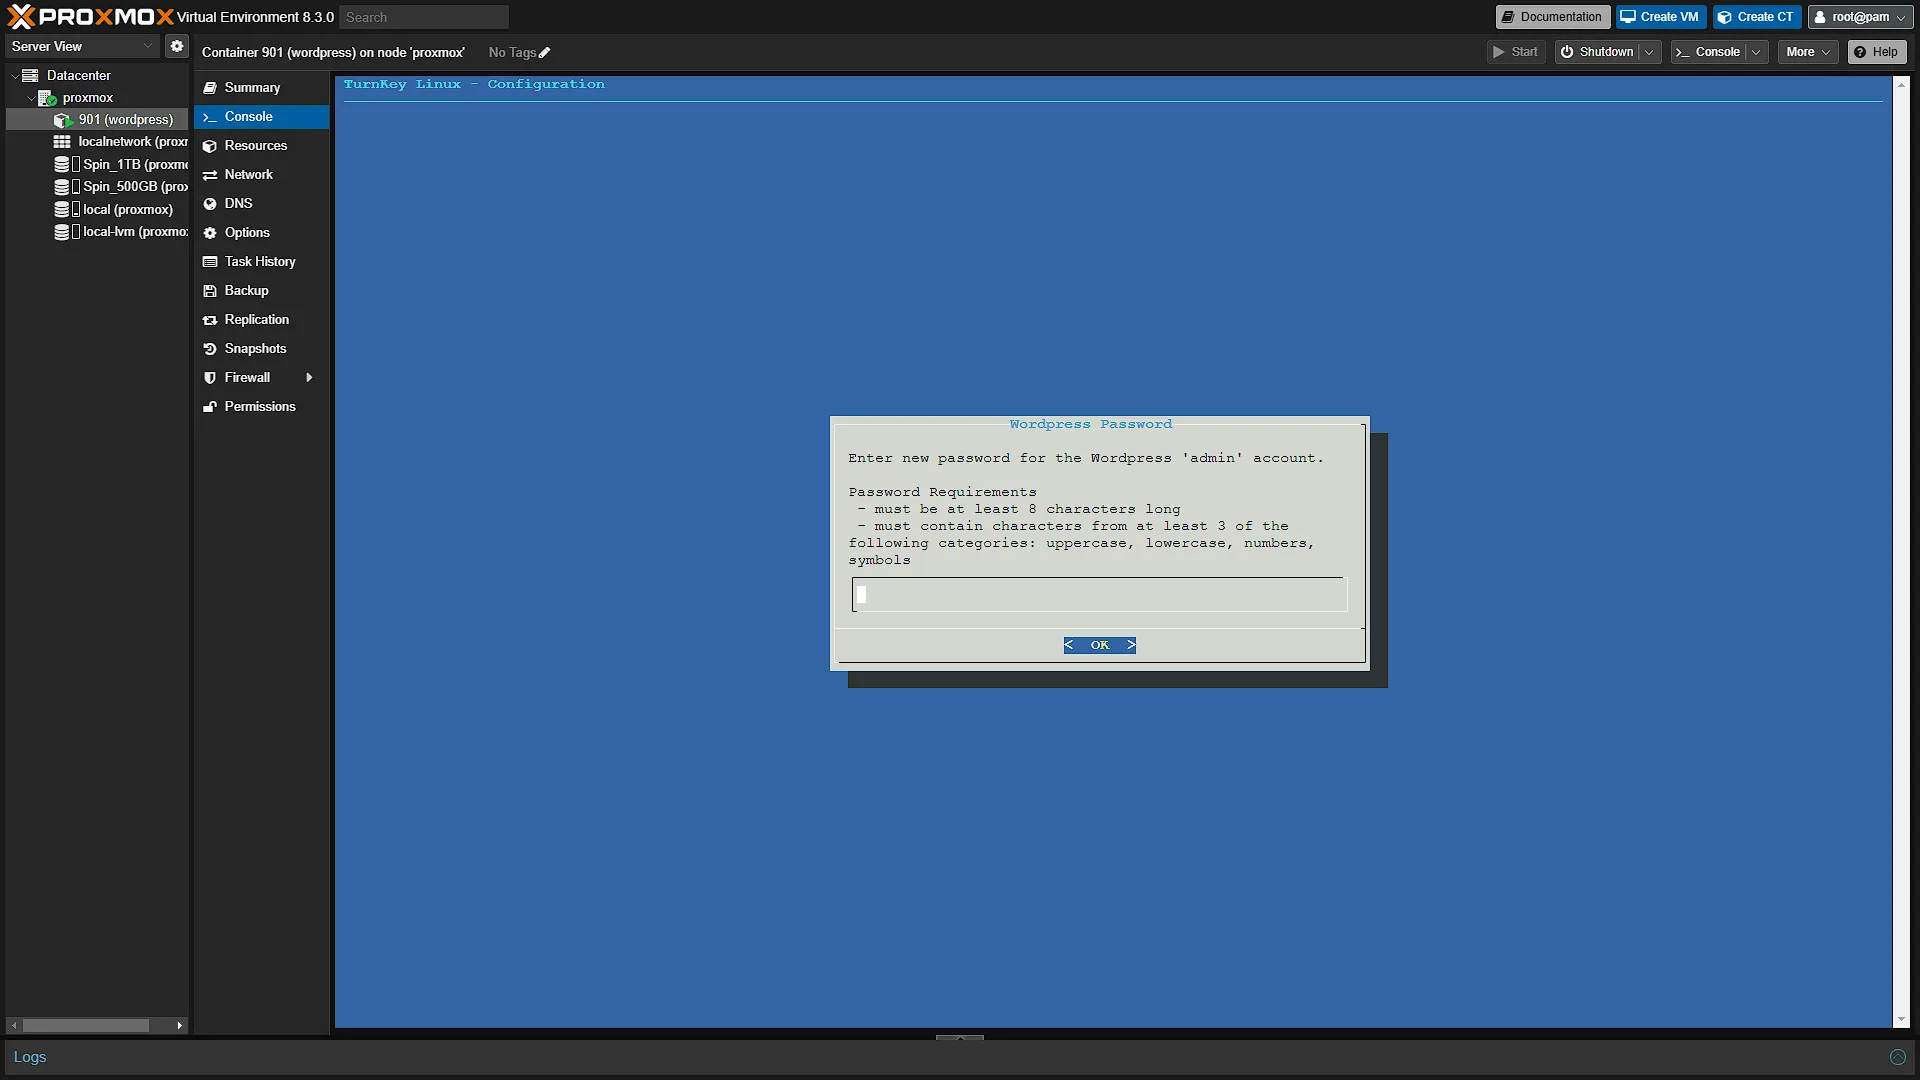
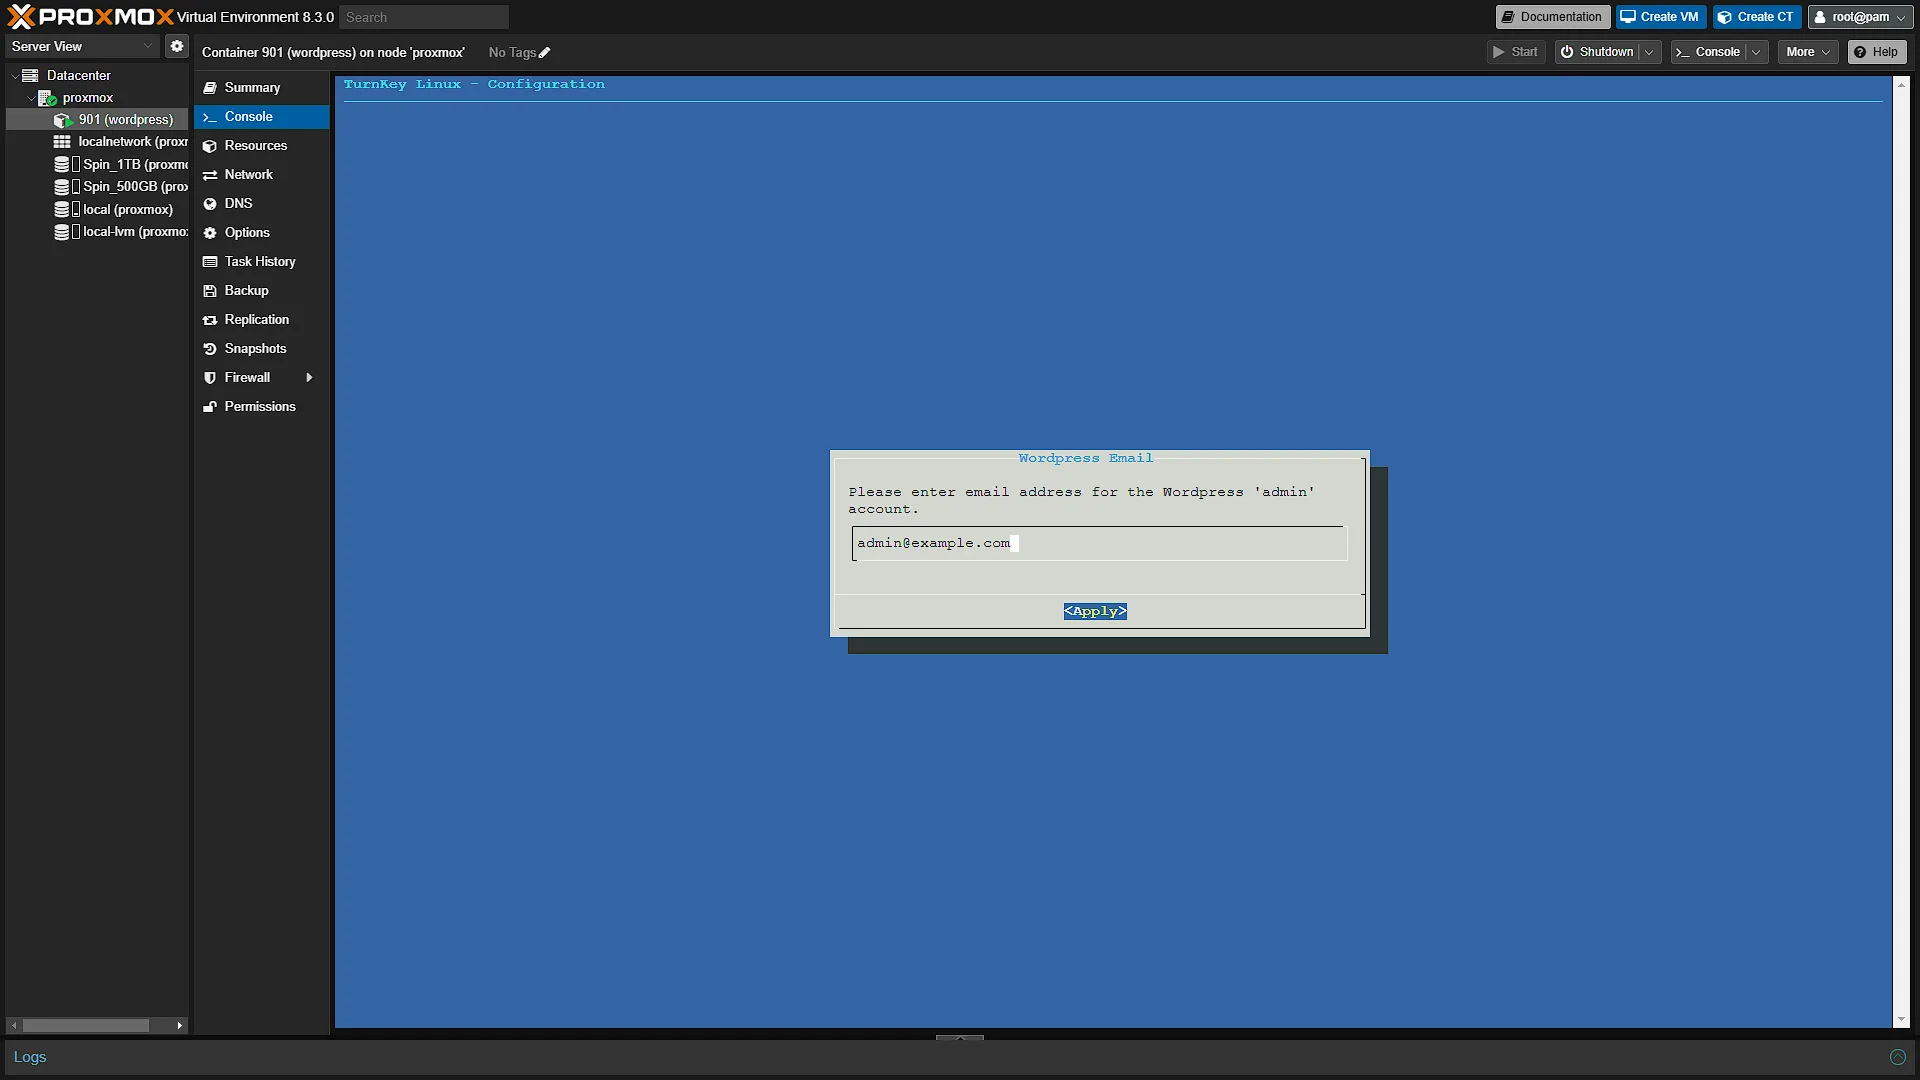
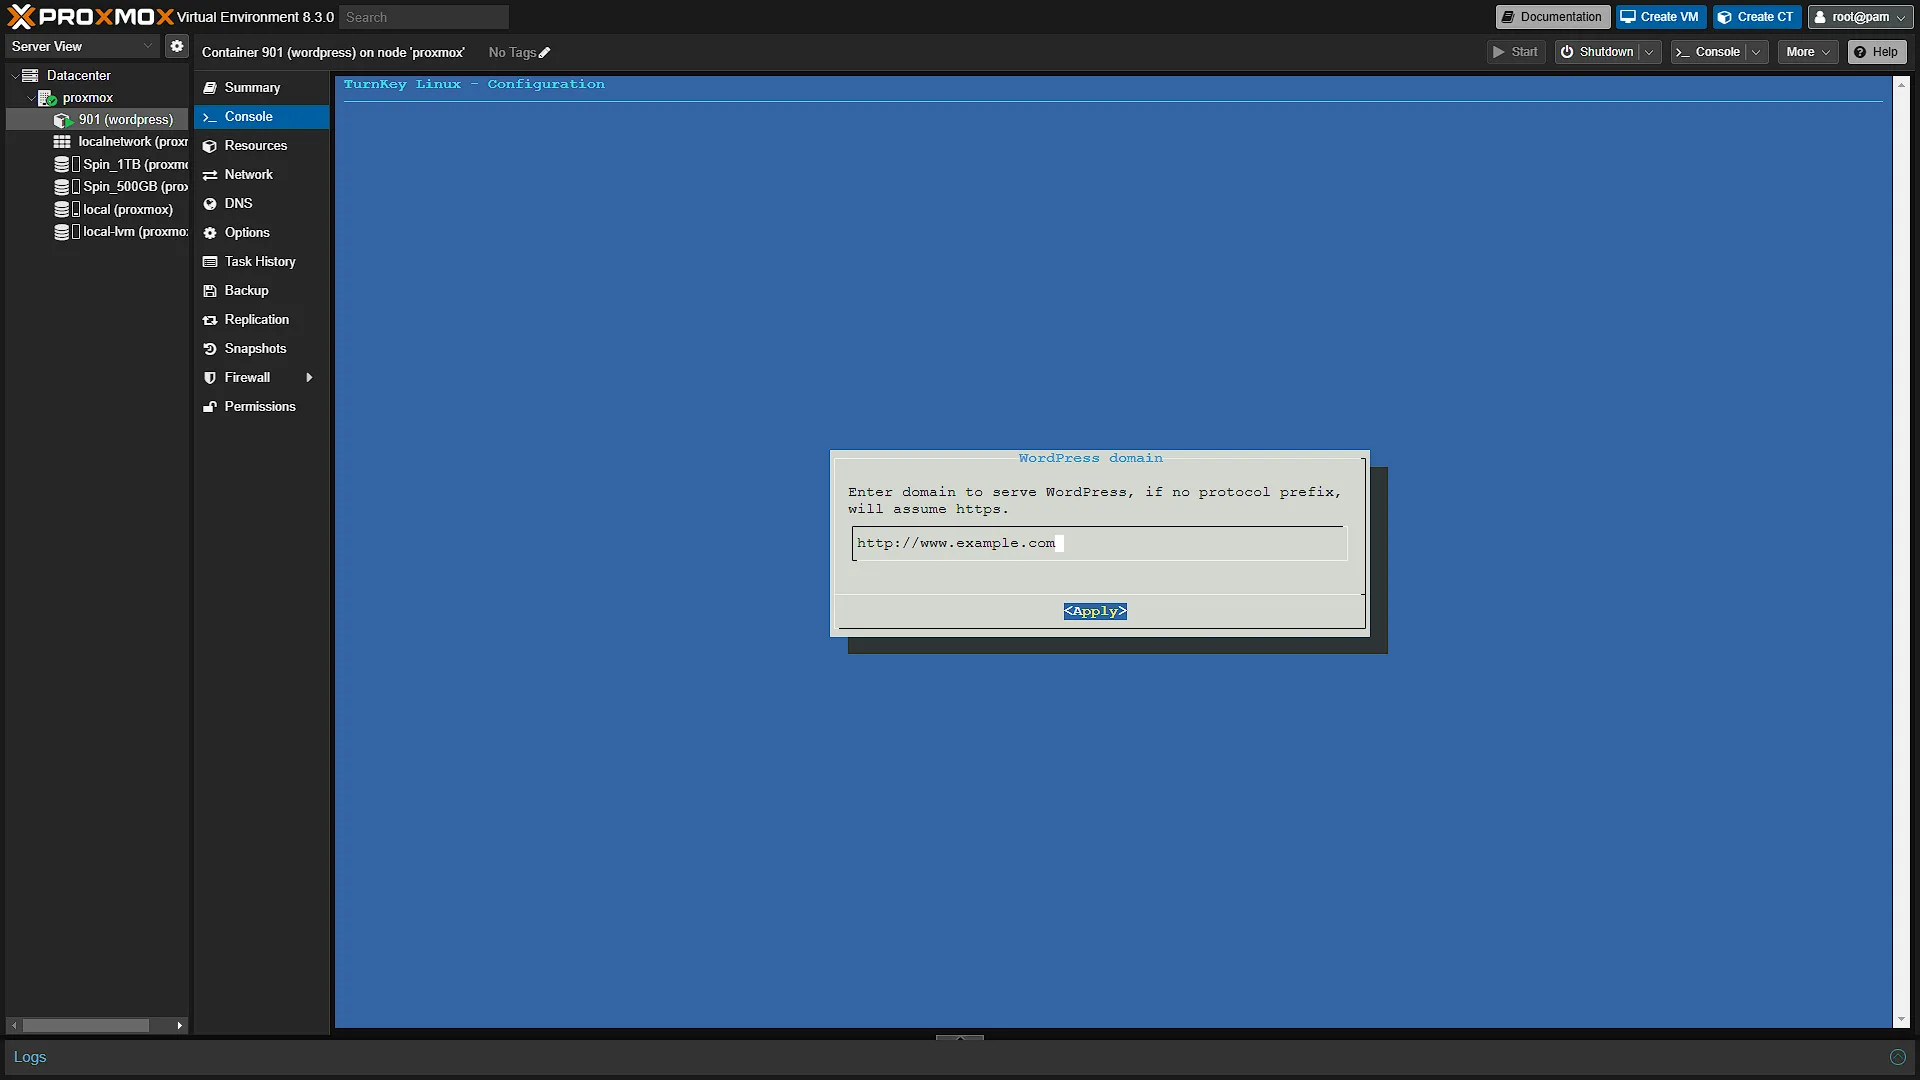
. Once the container has started, in the middle navigation pane, go to Consoleto open an integrated console into the container. You will be prompted for a username first, use rootand press Enter, after which you need to enter the password you selected in the first screen of the container setup. Once successfully authenticated, you will be greeted with a Turnkey Linux setup screen. The first screen will ask for a new password for the MySQL instance of Adminer. Adminer being the Admin controller for the Turnkey Linux container. Select a password and press enter. The second screen will ask to confirm the password. The third screen will prompt for a password for WordPress, enter a password and confirm on the 4th screen. The 5th screen will prompt you for an email address for the WordPress admin account. The 6th screen will ask for a domain name for the wordpress site.
Please take note: Although the domain name you select here will have an effect and we will probably need to add a DNS record in our own DNS server. The other, more intricate solution is to set up a domain or domain record to point to our network from the internet and we then need to set up an NGINX proxy to manage our VM’s and other network nodes. Both of these will be covered in future articles.
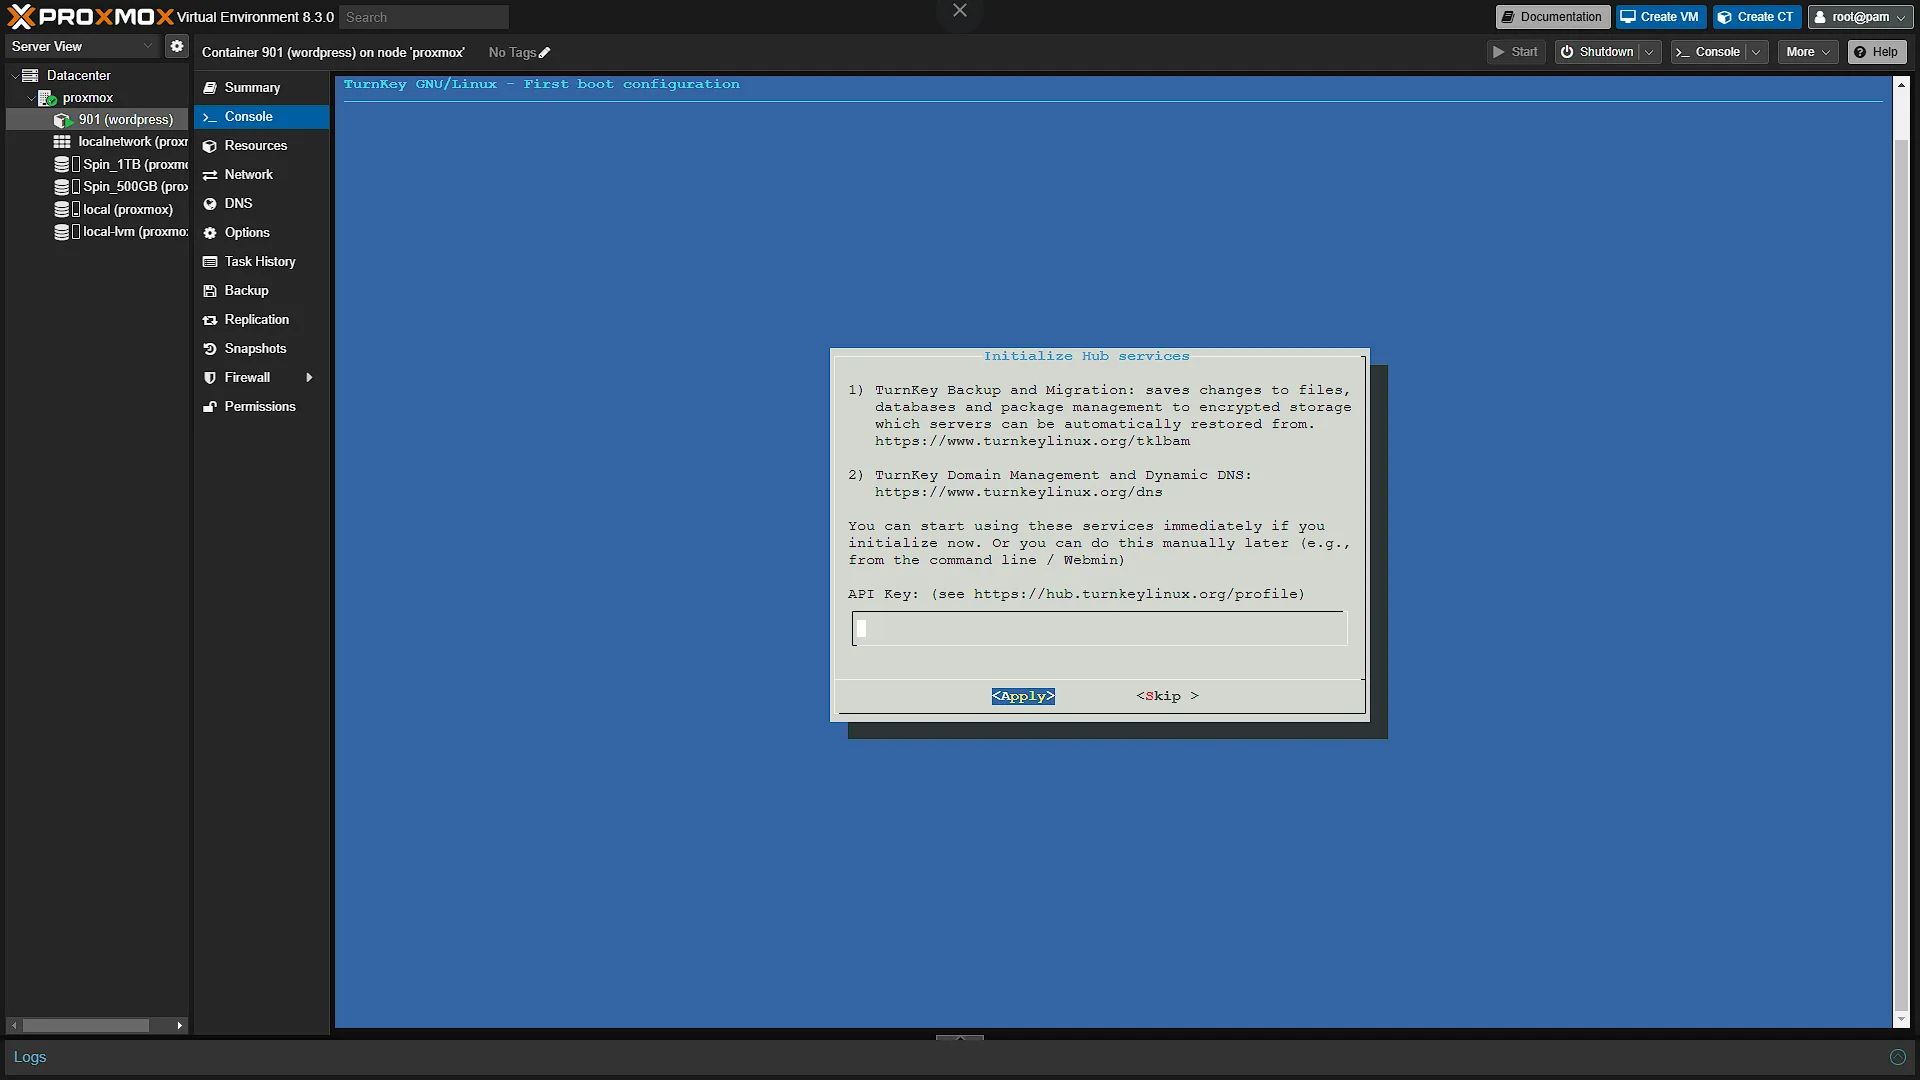
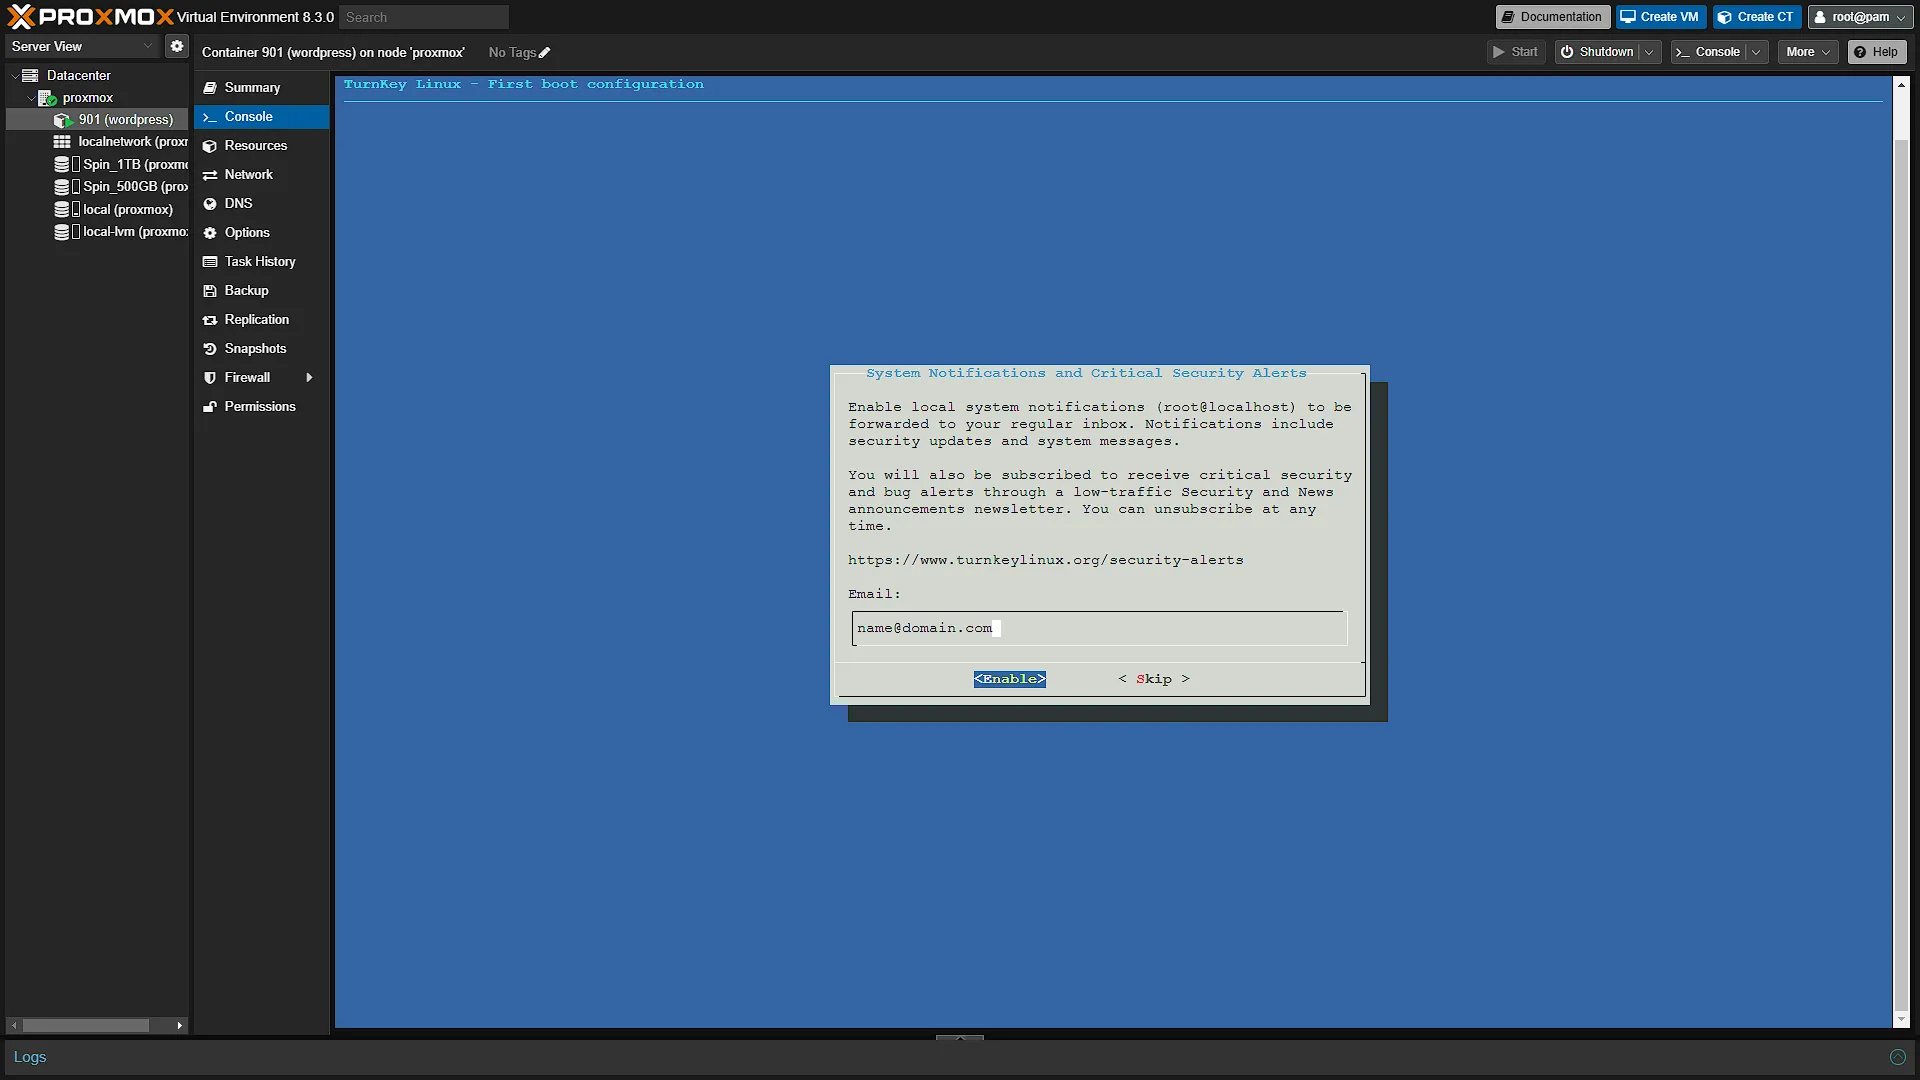
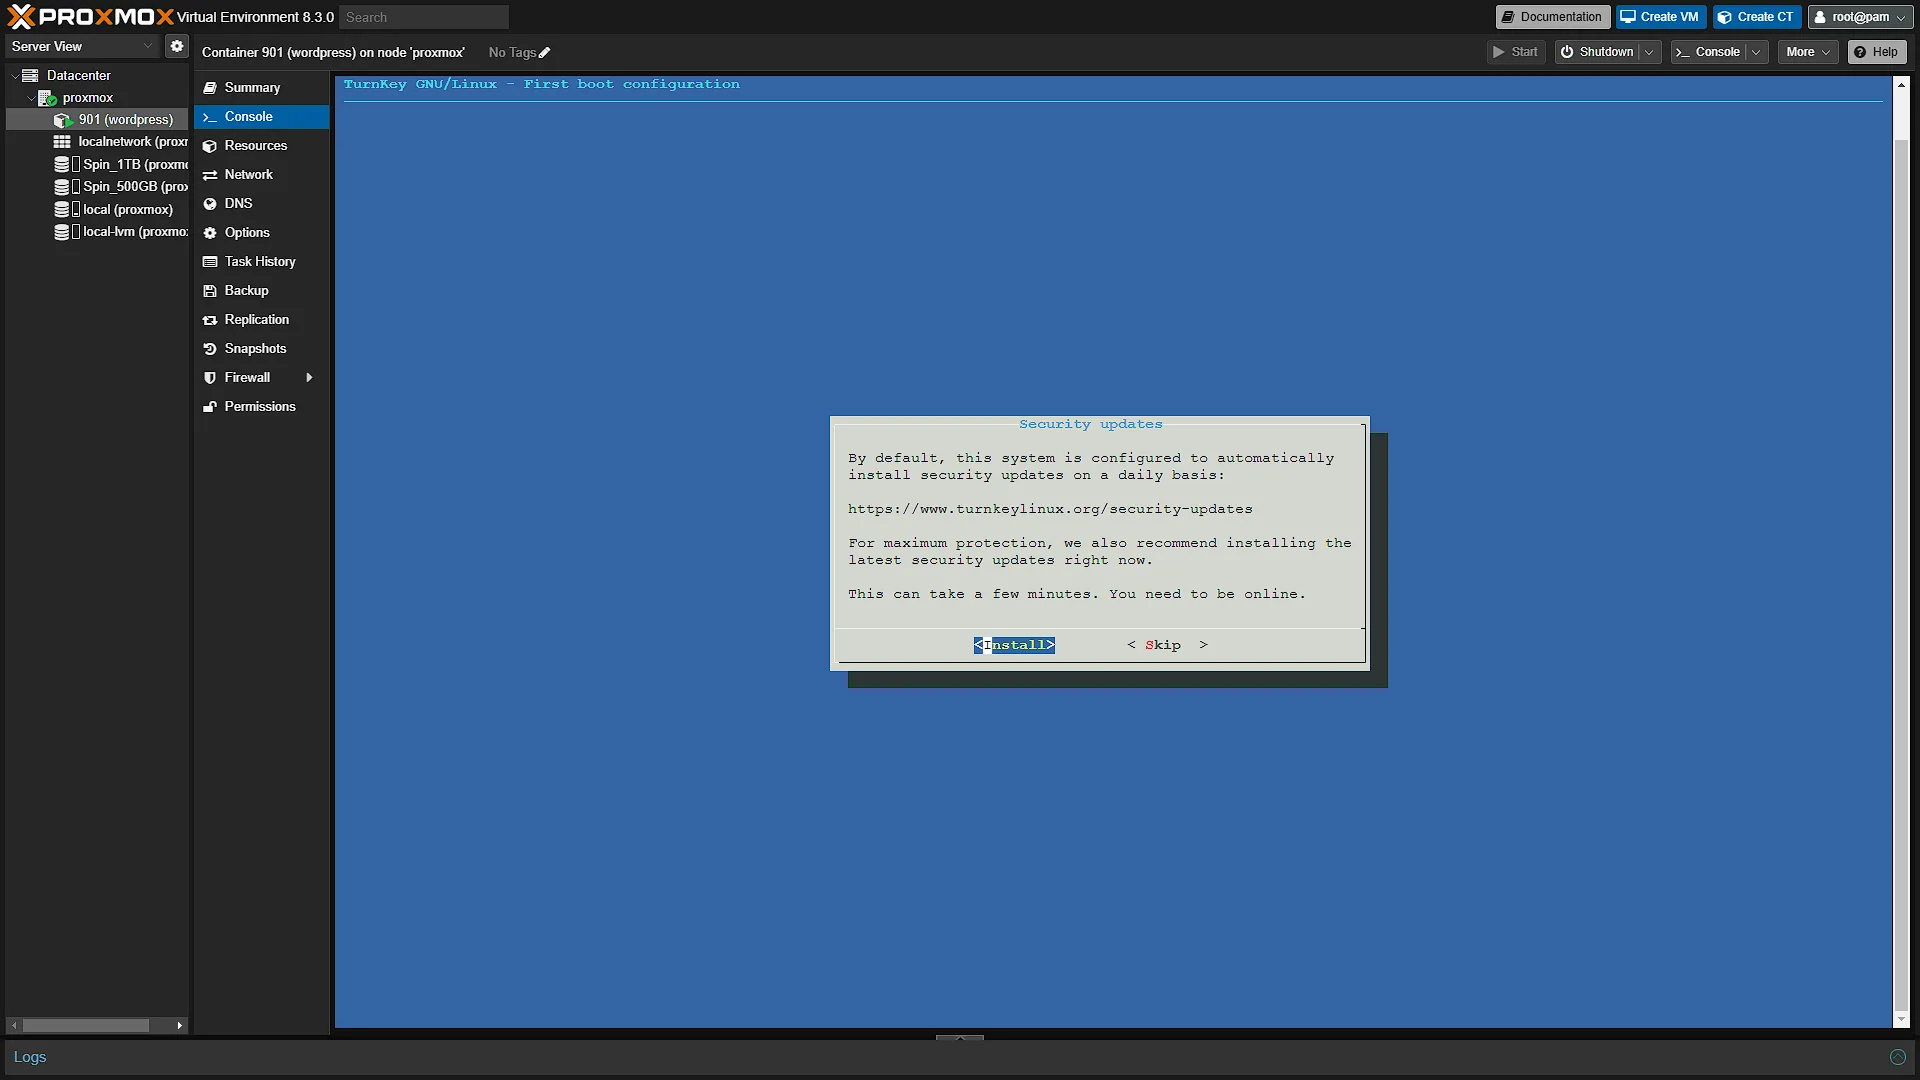
When you get to the Backup and Dynamic DNS settings page, just skip for now. You will then be prompted for an email address where notifications regarding security alerts can be sent. You can set it up if you wish, we are just going to skip for now. The last page will prompt you to either install the latest security updates or skip it. If you are following along and you just downloaded the WordPress Turnkey Linux Container Template, you are already on the latest version so there is no need to install updates.
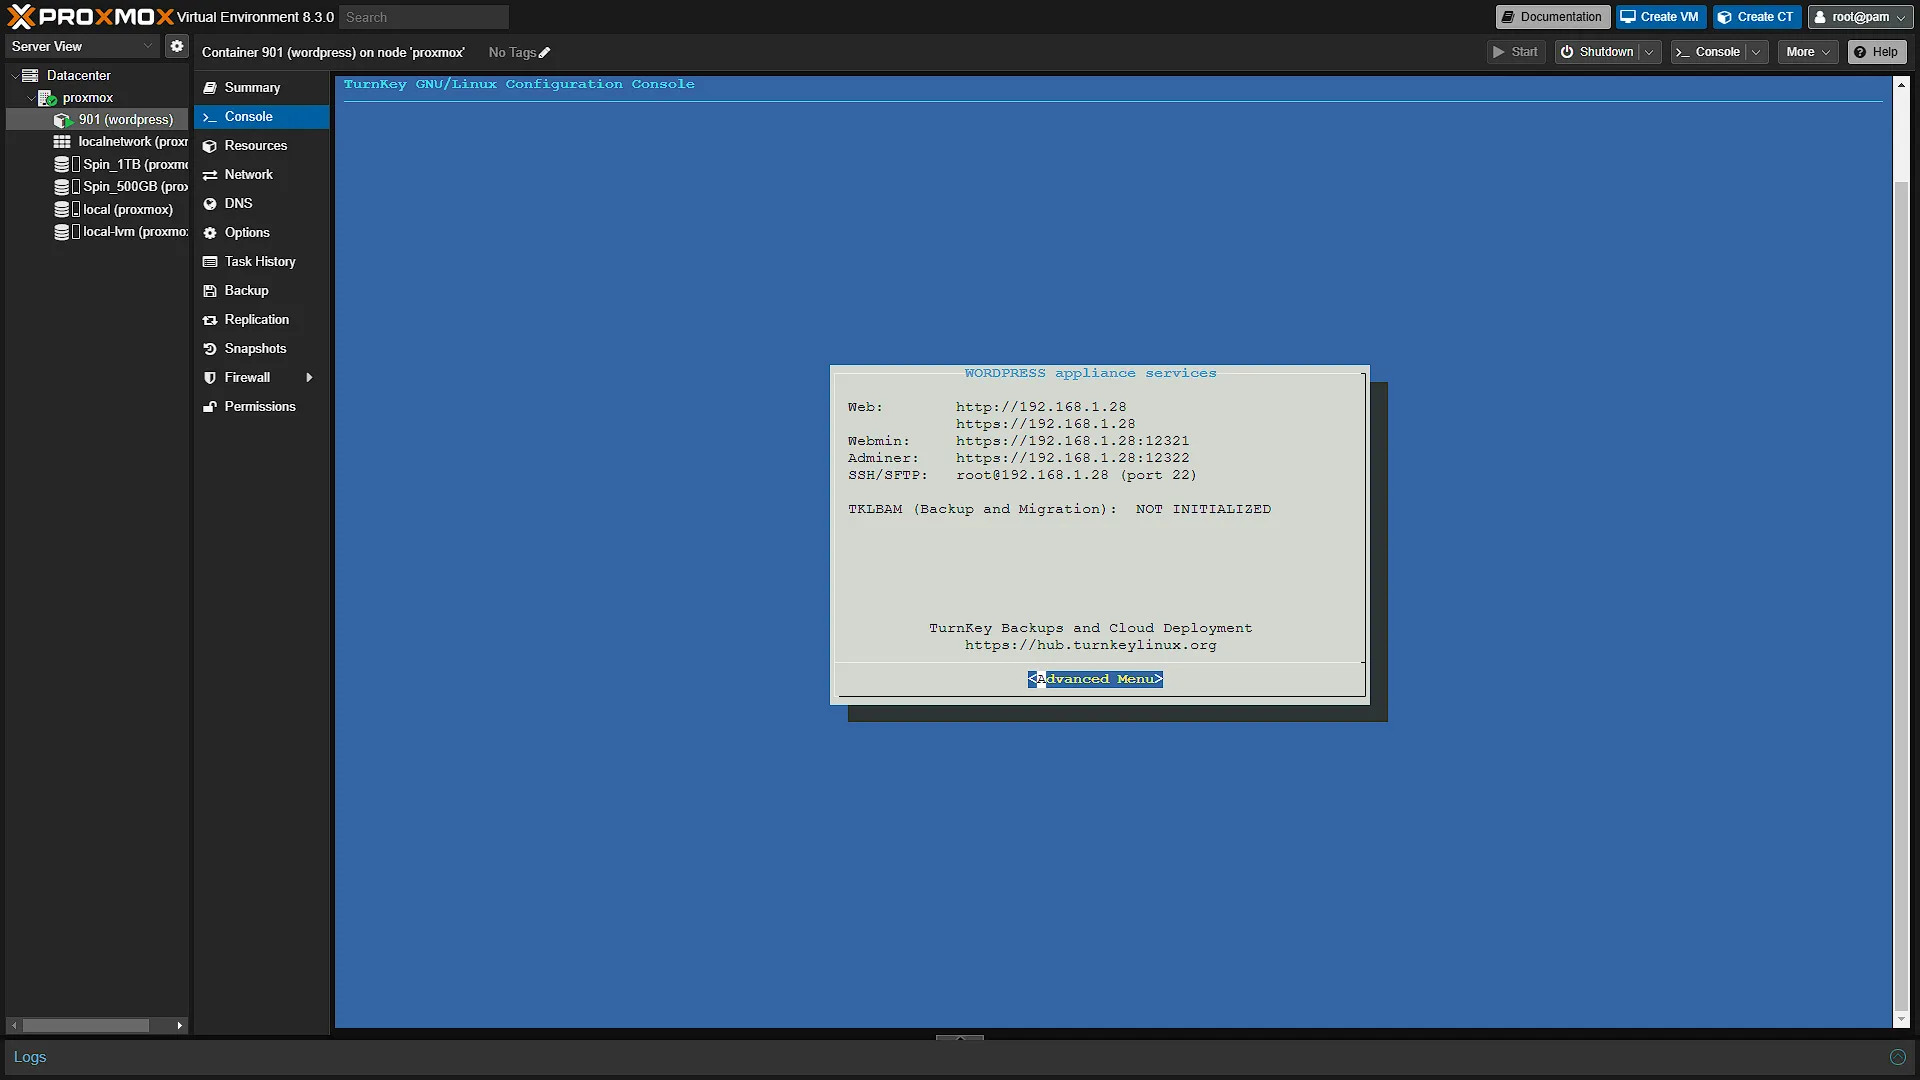
Once installed you will be greeted with a screen that shows you the container addresses. In our case the following:
Open an new browser window and go to the Web link provided, in our case http://192.168.1.28. Welcome to your own WordPress Instance!
Conclusion
In conclusion, deploying WordPress in your homelab using Proxmox and Turnkey Linux Containers is a practical way to get hands-on with containerization while immediately reaping the benefits of a fully functional website. By following the step-by-step process—from downloading the official WordPress template and setting up your container to configuring the necessary services like MySQL and PHP via the Turnkey Interface, you now have a solid foundation for hosting dynamic content. This approach not only streamlines your initial setup but also paves the way for future enhancements, such as integrating a custom DNS or a more sophisticated NGINX proxy configuration. Whether you’re a seasoned network administrator or just beginning your homelab journey, this project demonstrates that with the right tools, advanced deployments can be both accessible and efficient. Happy containerizing!


