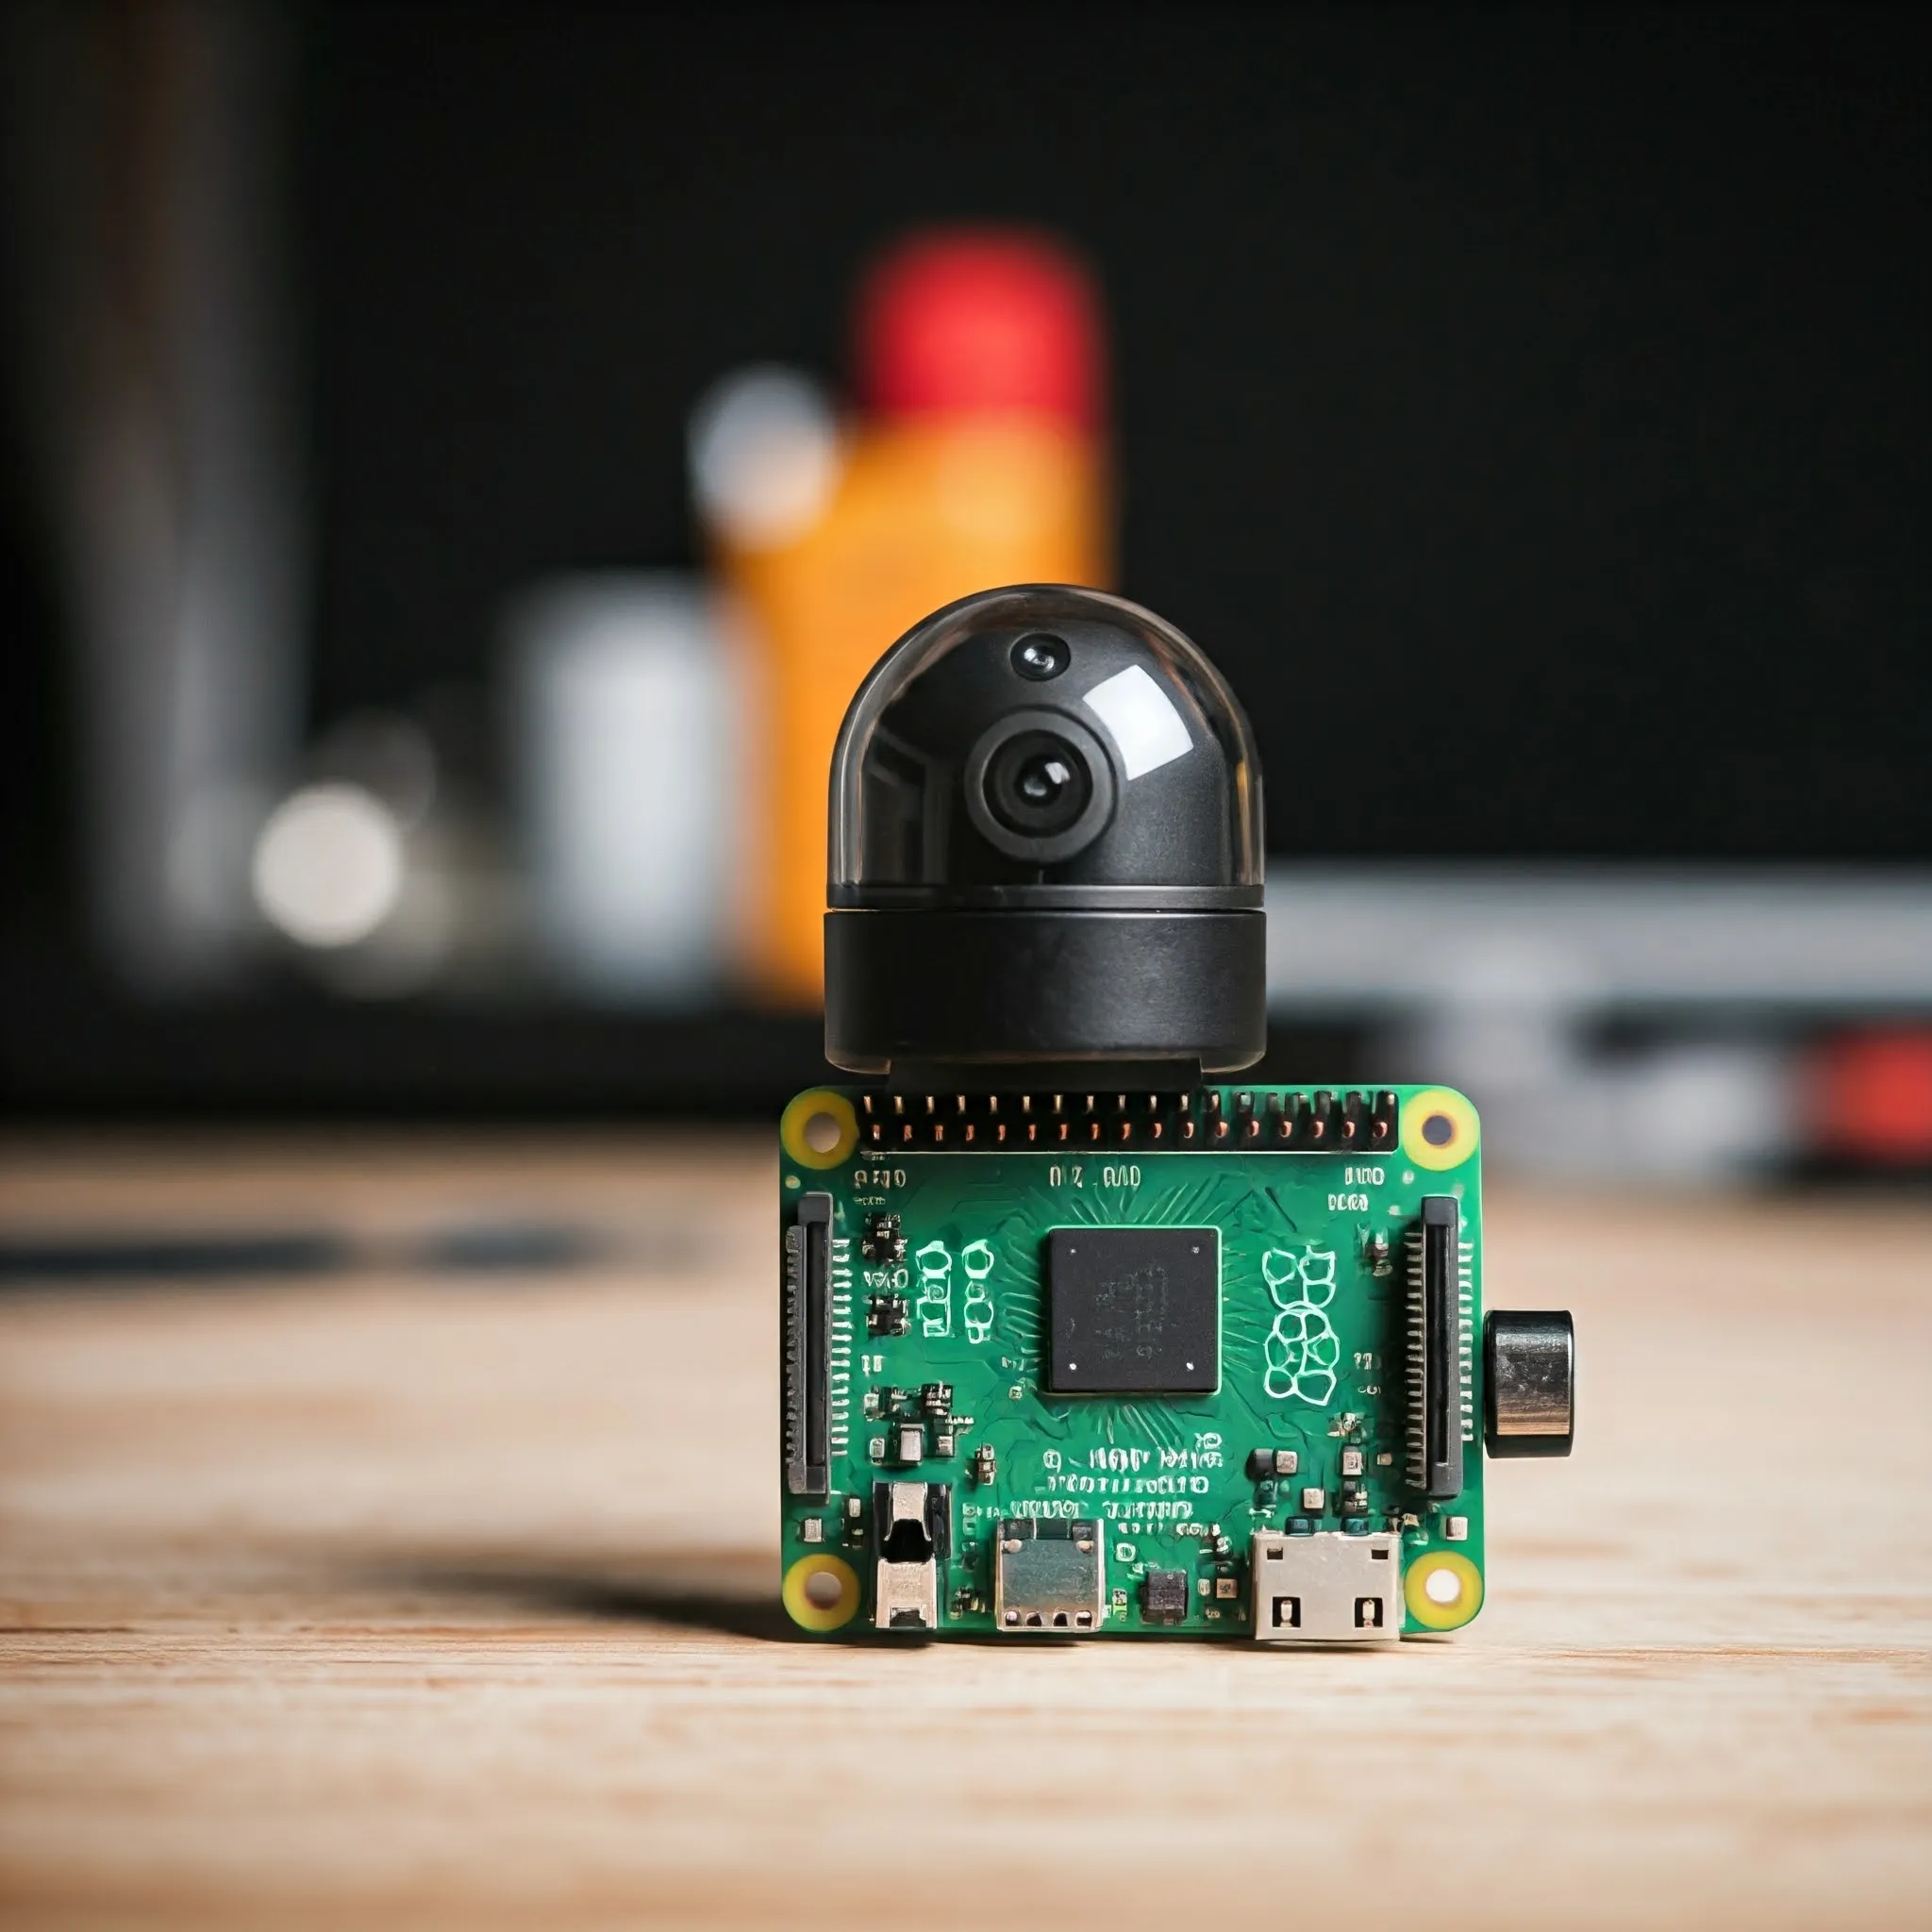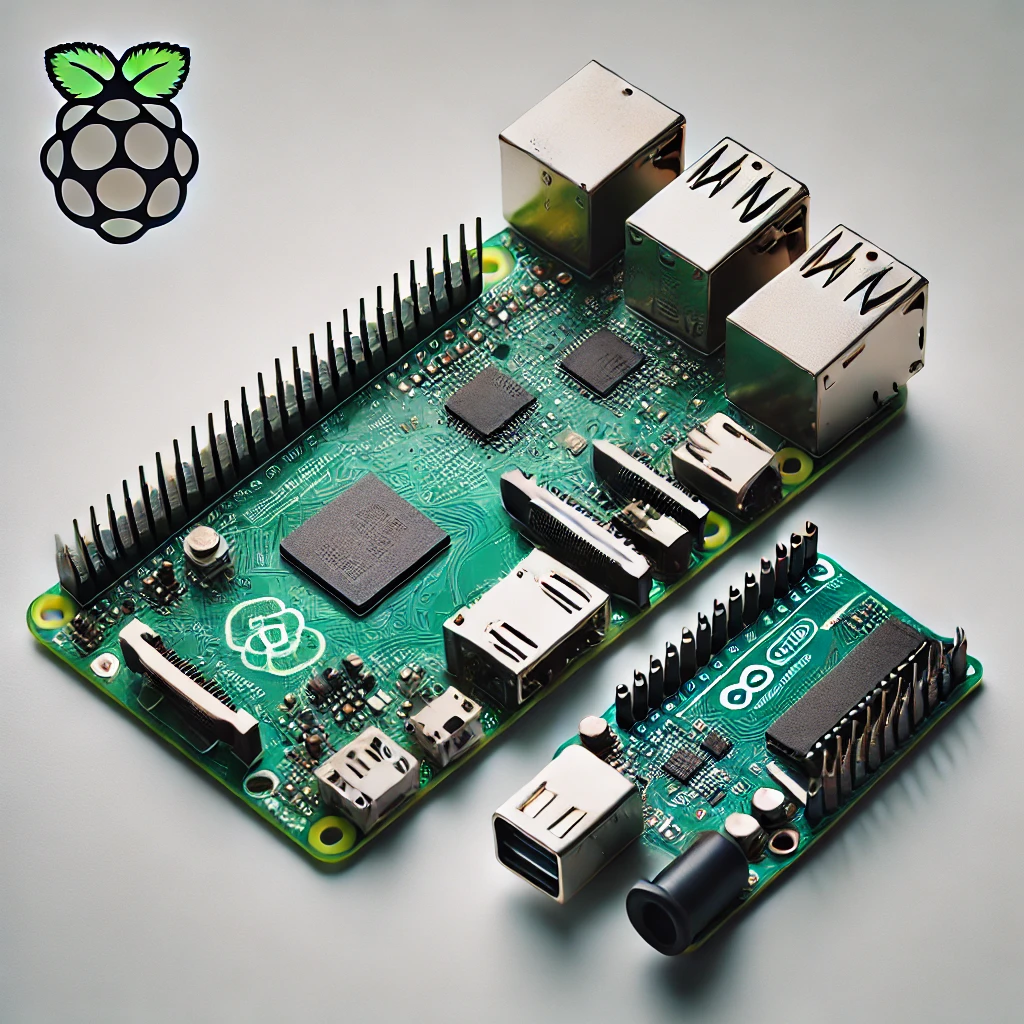
Raspberry Pi and Arduino are popular starting points for electronics projects, but the best choice depends on what your project must do. A Raspberry Pi 5 is a small computer that can run Linux applications, manage files and provide a desktop. An Arduino UNO R4 WiFi is a microcontroller board suited to reading sensors and controlling electronic components. Both are useful learning tools; neither is automatically the best answer for every project.
The names describe broader product families, so there are exceptions. Raspberry Pi Pico boards are microcontrollers rather than Linux computers. Arduino's UNO Q combines a Linux-capable processor with a separate microcontroller. This comparison focuses on the familiar distinction between a Raspberry Pi computer and an UNO-style microcontroller, with specific examples to help you recognise the differences.
Computer Versus Microcontroller
A Raspberry Pi computer has a processor, working memory and storage containing an operating system. After booting, it can run several programs: a browser, a Python application, a database or a network service. The operating system manages access to the hardware and provides the libraries and tools those programs use. It is a natural choice when your project needs a screen, substantial storage or existing Linux software.
On an UNO R4 WiFi, you normally compile and upload an Arduino sketch from another computer. The program is stored in onboard flash and runs when the board starts. A typical sketch has setup code followed by a repeatedly called loop(). That does not mean it can perform only one activity: well-designed code can monitor several inputs, update outputs and communicate between those checks.
A Specific Board Comparison
| Feature | Raspberry Pi 5 | Arduino UNO R4 WiFi |
|---|---|---|
| Main processor | 2.4 GHz quad-core Arm Cortex-A76 | 48 MHz Arm Cortex-M4, Renesas RA4M1 |
| Working memory | 1, 2, 4, 8 or 16 GB LPDDR4X | 32 kB SRAM on the main microcontroller |
| Program and data storage | microSD; additional storage options including an SSD through a separate PCIe adapter | 256 kB flash and 8 kB EEPROM on the main microcontroller; external storage can be added |
| Typical software | Raspberry Pi OS and other supported Linux distributions | Compiled Arduino sketches |
| Connections | USB, HDMI, Gigabit Ethernet, Wi-Fi and GPIO | 14 digital I/O, six analogue inputs, serial buses and an ESP32-S3 wireless module |
| Analogue sensing | An external ADC is needed for an analogue voltage on the computer's GPIO header | Built-in ADC supports up to 14-bit readings |
The table compares complete boards with different jobs, rather than treating clock speed as a universal performance score. More RAM helps a computer run applications; it does not make a sensor circuit easier to wire. Also, the UNO R4 WiFi's wireless module has its own resources, so the main microcontroller's memory figures do not describe every chip on the board.
Timing and Control: Predictability Still Requires Good Design
A microcontroller is a good fit when a project must respond to switches, generate timed outputs or control a motor driver. However, simply using Arduino does not make every program completely deterministic. Long blocking operations, communication routines and interrupt handling can change when your application responds. Hardware timers and appropriate libraries are often more useful than trying to time everything in a busy loop.
Arduino's own Blink Without Delay example illustrates the principle: using delay() pauses the sketch, potentially missing a button press. Checking elapsed time lets the loop continue checking other inputs. For a watering controller, that approach can keep monitoring a stop button while waiting between measurements. Before adding networking or a display, make sure the basic control behaviour still works.
An ordinary Linux program also shares CPU time with other work. A Python loop on a Pi computer is therefore not a guaranteed source of precisely timed pulses. Linux has real-time facilities, and dedicated hardware can handle timing, but those require deliberate configuration and validation. For a beginner project, letting a microcontroller handle sensitive timing while the Pi handles the user interface can keep the design easier to understand.
Sensors, Analogue Inputs and Voltage Compatibility
Some sensors send an analogue voltage; others provide digital data over interfaces such as I2C, SPI or UART. Identify the actual interface before choosing a board. A digital temperature sensor does not require an analogue input, whereas a bare potentiometer does. The Pi computer's GPIO header can communicate digitally, but reading an analogue voltage requires a suitable external analogue-to-digital converter.
The UNO R4 WiFi offers up to 14-bit ADC resolution, but Arduino's documentation says the default is 10-bit for compatibility. Requesting a higher resolution changes the available numeric range; it does not guarantee that a noisy sensor or wiring arrangement becomes more accurate. Calibration, a suitable reference and sensible wiring still matter.
Check logic levels as well as power connectors. Pi computer GPIO operates at 3.3 V, while the UNO R4's main headers use 5 V logic and its Qwiic connector uses 3.3 V. Do not directly connect a 5 V output to a Pi input. Use an appropriate interface or level conversion where required. Motors and other substantial loads need suitable driver circuitry and power rather than being connected directly to GPIO.
Power and Total Project Cost
For a Pi 5, budget for the power supply, storage and an enclosure, with cooling appropriate to the workload. Raspberry Pi recommends a good-quality 5 V, 5 A USB-C supply. That is a supply capability, not a claim that the board continuously consumes its maximum output. The attached devices and running workload affect actual consumption.
A microcontroller can be a better starting point for a battery sensor, especially when its application spends time asleep. Battery life still depends on the complete board, regulator, radio, sensors, wake frequency and battery conditions. A development board with wireless connectivity and indicator LEDs should not inherit the bare chip's sleep-current figure. Measure the complete assembled project before predicting a maintenance interval.
Storage is another practical distinction. A Pi provides ordinary files and directories. An UNO can retain a program in flash and small data in nonvolatile memory; a logging project may add external storage. Keep backups of source code and configuration on your development computer whichever platform you choose.
Project Examples and Combining the Boards
I would choose a Pi computer for a media centre, a web dashboard or a home-automation hub that needs a supported operating system and applications. Check each application's current board requirements before buying. I would start with an UNO-style microcontroller for a motion-triggered light, a simple temperature display or a plant-watering controller, where direct interaction with sensors and outputs is the main task.
A weather station can use both. The microcontroller reads sensors and manages local actions, then sends readings over USB serial to a Pi that stores data and displays graphs. Define the message format and what happens if the connection stops. For example, a pump should have a local maximum run time instead of waiting indefinitely for a remote command. This is a design recommendation, not a claim that we tested a particular build.
Choose by requirements, supported libraries and the example you can understand and maintain. For these board types, my beginner-friendly recommendation is straightforward: a Pi computer suits software-rich projects, while an UNO-style controller is a useful starting point for hands-on electronics. Pico and UNO Q broaden those options. Starting with one small, working project will teach you more than buying the most powerful board without a clear purpose.
Visit the official websites for Raspberry Pi | Arduino