NetworksHomelab
Proxmox Networking and Firewall Settings Explained
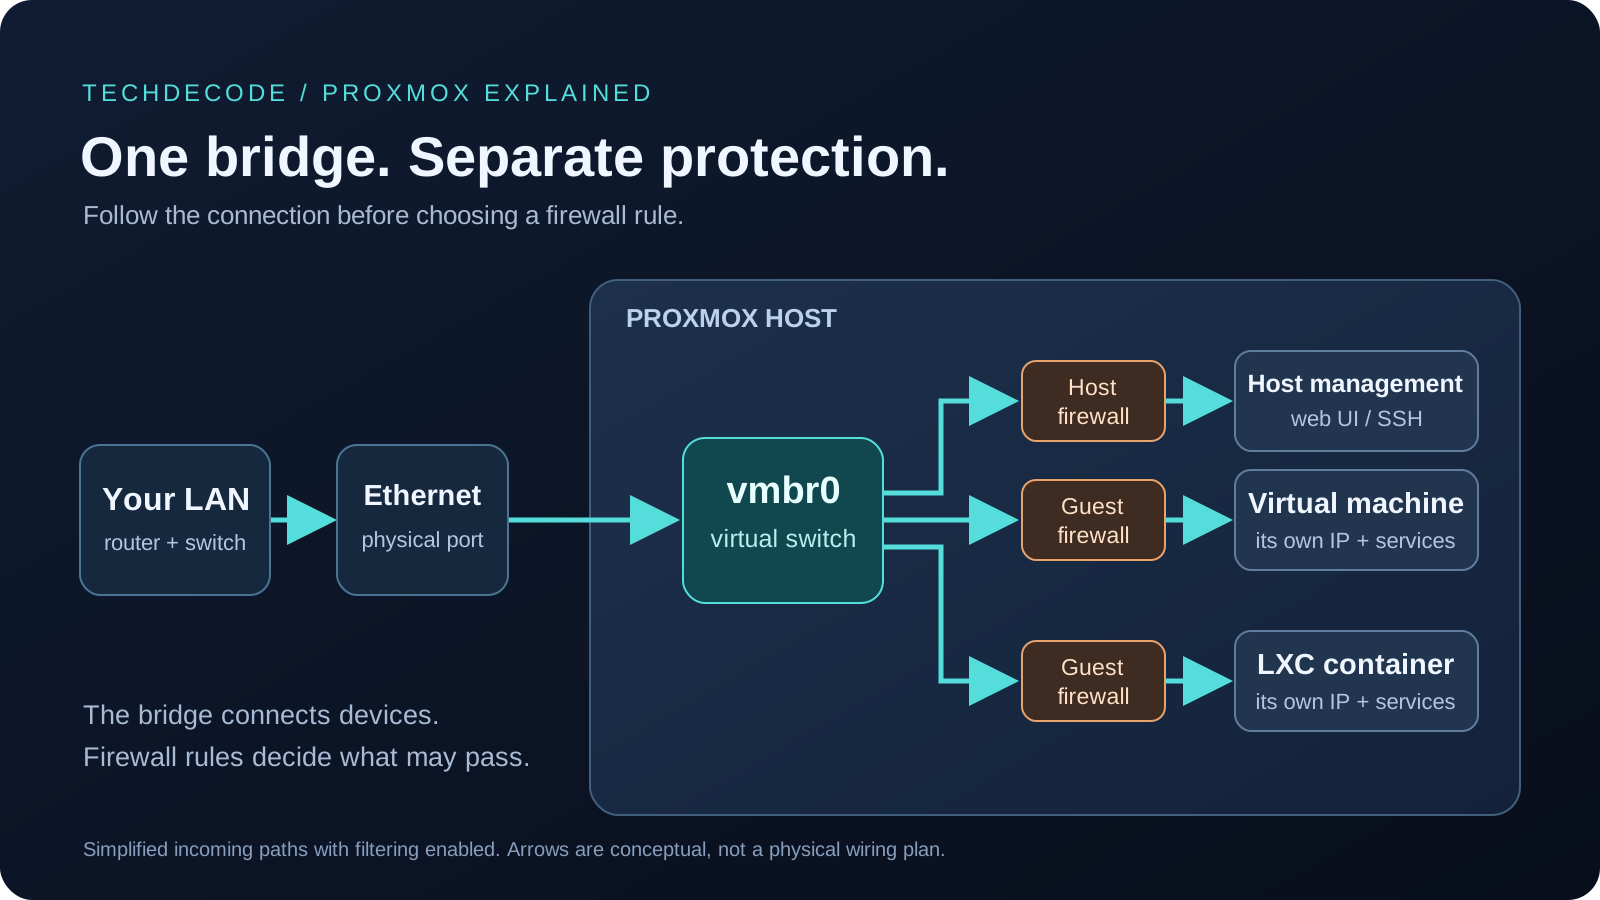
Understand Proxmox bridges, VLAN tags, VirtIO, IP settings and firewall rules, with practical examples for protecting guests and keeping management access.
Proxmox VE virtualization, LXC containers, KVM virtual machines, helper scripts, and cluster management.
Understand Proxmox bridges, VLAN tags, VirtIO, IP settings and firewall rules, with practical examples for protecting guests and keeping management access.

Compare free SMTP services for Proxmox alerts, including Sender, Brevo, Resend, Mailtrap and Amazon SES. Understand the limits and choose our free-tier winner.

Use AI to understand and maintain your homelab, with ten practical habits for backups, alerts, updates, automation, local models and a manageable hobby.
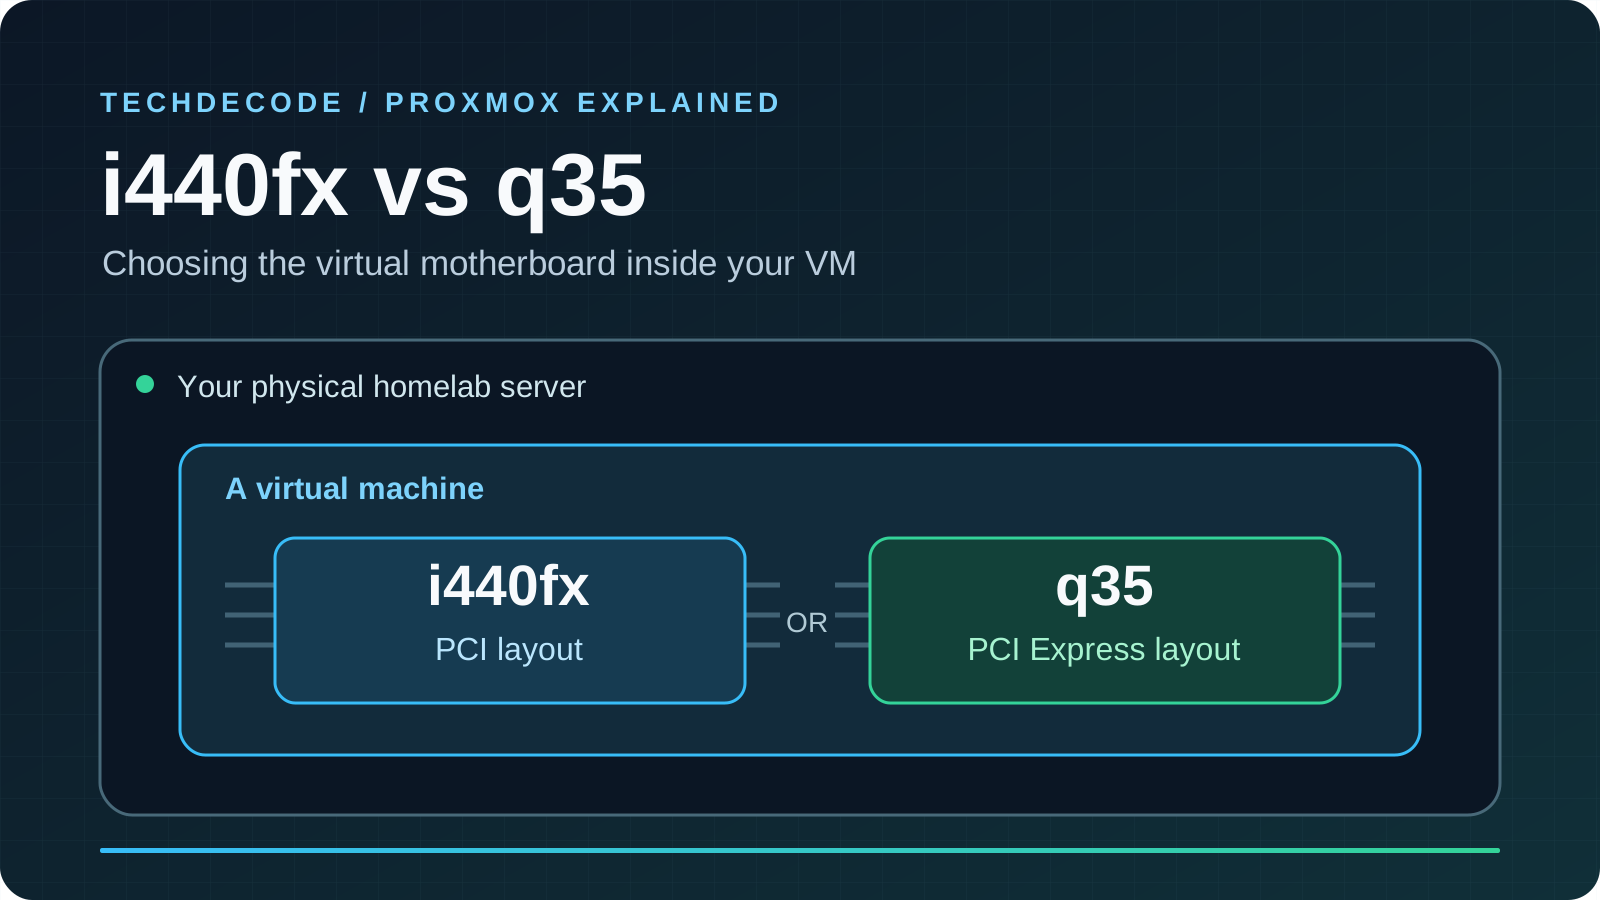
Understand i440fx and q35 in Proxmox, when PCI Express matters, and how to choose the virtual hardware layout for your VM.
Set up a low-power Raspberry Pi as a secondary Technitium DNS server, link it to your Proxmox primary node with native clustering, sync your local zones, and eliminate single-host DNS outages.

Yes, we are late to the OpenClaw party. Here is a plain-English guide to what OpenClaw actually does, why homelabbers are self-hosting it, and how to set it up safely in Proxmox.

Understand when to share an Intel iGPU with Proxmox containers, when to assign a GPU to a VM, and how to verify video and AI acceleration.

A sudden power cut does not just turn your homelab off. It interrupts open databases, virtual machines, and NAS storage mid-write. Here is how an Uninterruptible Power Supply (UPS) and Network UPS Tools (NUT) work in plain English to shut down Proxmox and TrueNAS safely.

Run a LocalAI inference service in Proxmox with the Community Scripts installer, then choose a model, secure access and verify requests, resources and recovery.

Compare Intel N150 and N100 specifications, memory and expansion limits, power, video acceleration and complete mini-PC choices for a home server.

Set up Proxmox Backup Server for your homelab, protect encryption keys, manage retention, sync off-site and prove recovery with an isolated restore.

To install Immich in our Proxmox Homelab previously, we had to first install a Docker LXC and then Immich. This changed with the introduction of a new LXC Helper Script that was released. Let's look at installing Immich a bit easier.
Running Home Assistant in your homelab is a must for most self-hosters. But should you run it in your Proxmox instance or on your Raspberry Pi? Let's take a look at a detailed comparison between the two options.
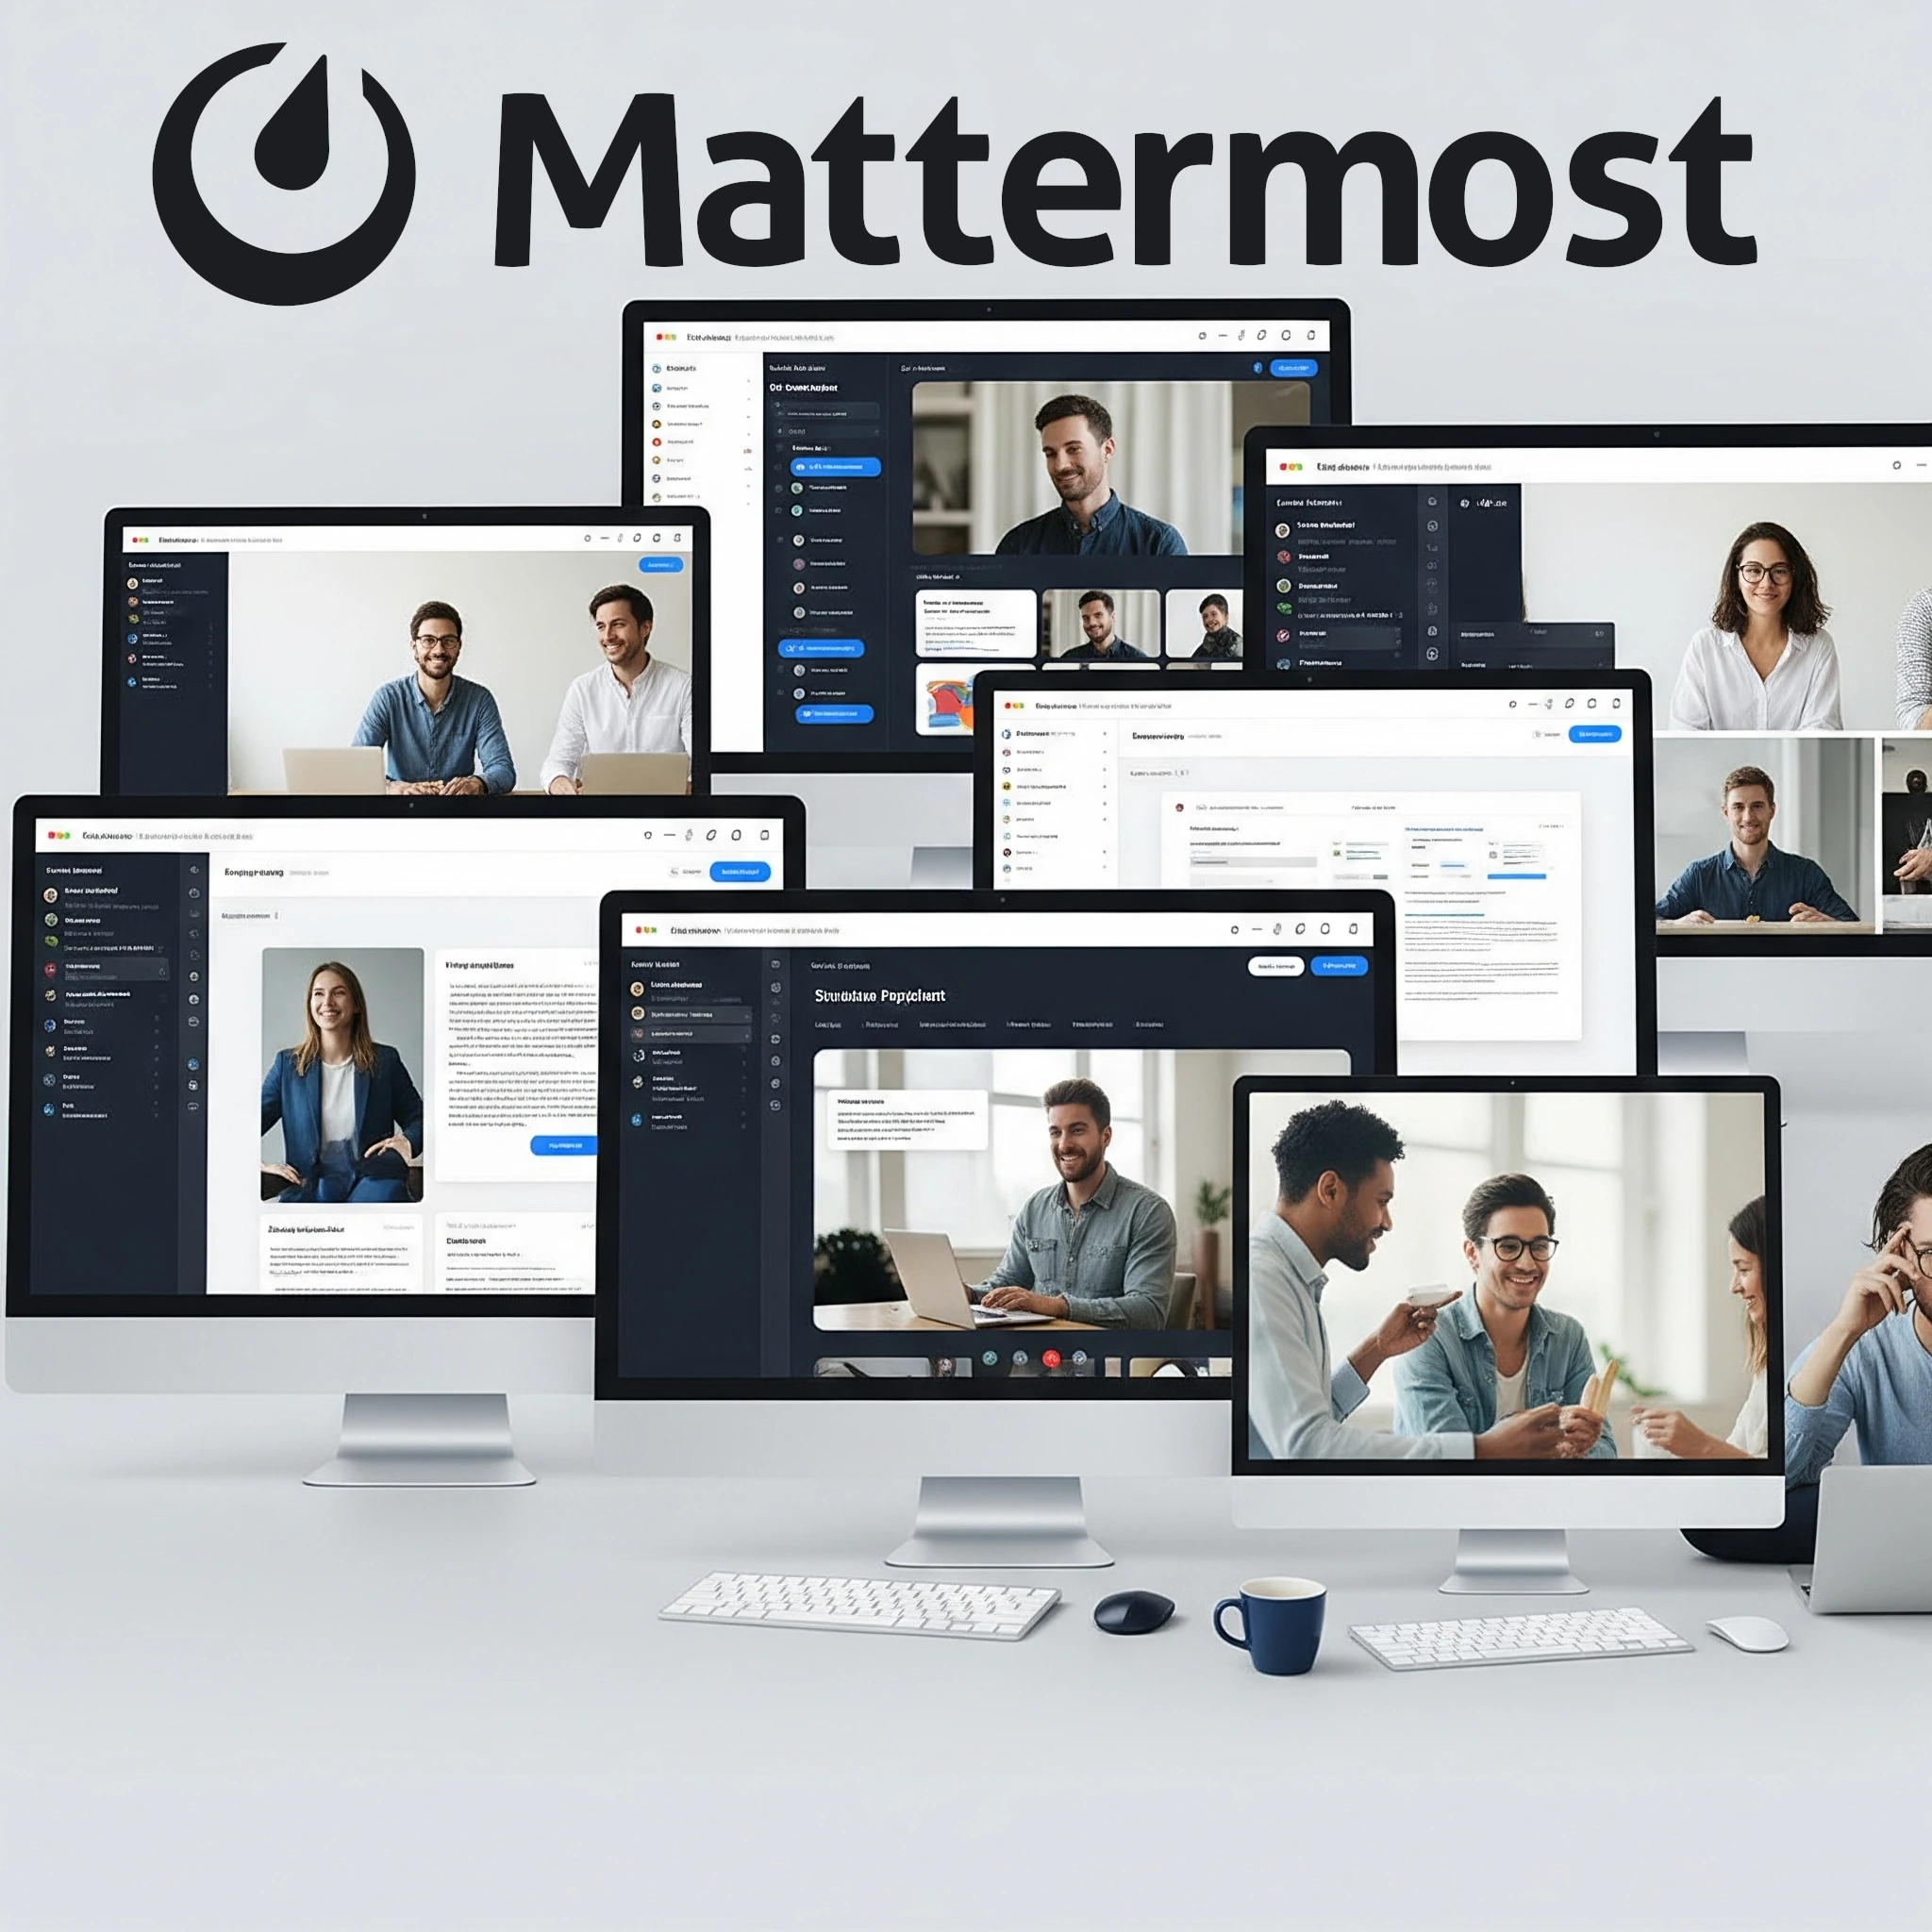
Explore Mattermost for a homelab: channels, integrations, current free-edition limits, PostgreSQL deployment, Calls networking and practical backup checks.

Explore pfSense CE and Plus, firewall and VPN capabilities, and the hardware, virtualization and recovery checks that matter for a homelab gateway.

Explore Pelican Panel and Wings, supported Linux hosts, game-specific eggs, network access and the backups needed for a dependable homelab game server.

Compare Beszel’s hub and agents with Prometheus and Grafana, then plan connections, permissions, alerts and recoverable monitoring data.

Organize documents with Paperless-ngx, understand OCR and matching, choose a current deployment recipe, and test permissions and recovery.
Any homelab, be it big or small, mature or starting out, will have quite a few Docker containers running. Today we will look at keeping these containers up to date via Portainer by using Watchtower.
Any growing homelab will surely start to notice updates for the services they are running. Let's see how easy it is to update services that were installed with the help of helper-scripts.com.
Finish setting up the TurnKey Nextcloud VM, sign in to the web interface and connect desktop or mobile clients.
Installing Nextcloud in our Proxmox environment is a bit more hands-on than our normal installs, so we are going to be using multiple sources to make our lives easier.

Now that Immich is running in a separate LXC with a load of space, let's start using it by setting up a reverse proxy and access rules.

Let's start saving some money with a service that the majority of smartphone users have: a service that backs up their photos and videos to the cloud. This is something that is very easy to self-host with the help of Immich.

Compare Reactive Resume's hosted and self-hosted options, match deployment instructions to the release, and verify privacy, backups and exported resumes.
Compare Nextcloud and Immich for phone photo uploads, storage and recovery, with the deployment and maintenance tradeoffs of hosting your own photo library.
After installing a new Plant-it server, there is still quite a few things we need to get done before our Plant-it service will be secure and useful. Let's take a look at the configuration of Plant-it.

Using Portainer, it is very easy to install Plant-it in our Docker environment. If you prefer to use an existing Docker environment instead of creating another LXC, this walkthrough shows the installation steps.
Install Plant-it 0.10.0 in an LXC using the demonstrated ports and startup notes, then configure it through the series and test backups and recovery.

Does a homelab with Tailscale/Headscale still need OPNsense? Compare gateway and overlay roles, segmentation, virtualisation, wireless management and recovery work.
The last part of our Headscale installation - getting exit nodes set up and routes activated to be able to access network resources
Follow the Android Headscale registration screenshots using the techdecode example, with separate compatibility notes and peer, subnet and exit-node checks.
Once Headscale is installed, there is quite a bit of intricate setup and config to complete before we will be able to connect to our VPN. Let's get it sorted and set up so we can start using our VPN.
Install Headscale in Proxmox using the demonstrated helper workflow, with separate explanations of coordination, reachability, policy and recovery.
Compare Proxmox VE and XCP-ng for a homelab: VM/container architecture, XO Lite and Xen Orchestra, storage support, backups and a practical evaluation plan.
Connect Uptime Kuma to ntfy and test notifications when a monitored homelab service goes offline and comes back online.
Any respectable homelab has quite a few services running that we need to be notified of if they go down. This is where Uptime Kuma is our best friend, so let's get it included in our Home Lab.
Seeing as our ntfy is open to all guest users to send and receive, we need to lock it down behind a username and password. Let's get the default changed and some credentials set up.
Follow the demonstrated NGINX and HTTP notification test, then continue to authentication and HTTPS, with optional proxy tuning and troubleshooting.
Install ntfy in a Proxmox LXC and test local phone notifications, then follow the series to external access, authentication and HTTPS.
Now that we can create a Minecraft server, how do we create multiple servers? And how do we manage them all? Today we take a look at a single LXC that can run multiple Minecraft servers at once.

Now that we have core infrastructure services up and running in our homelab, it is time for something that is a lot more fun: hosting our own Minecraft server in our Proxmox Homelab.

Adjust Proxmox LXC and VM resources through the original GUI workflow, with clear pending-setting, disk-growth, guest-filesystem and recovery checks.
After MariaDB and Oracle MySQL, this guide demonstrates SQL Server 2022 through a community Proxmox LXC helper, including edition, access and compatibility considerations.
The earlier TurnKey guide installed MariaDB. This alternative installs Oracle MySQL through a community helper, with version, permissions and compatibility checks.
Install Portainer to manage Docker containers and stacks through a web interface, with practical setup, access and backup guidance for your homelab.
If running Docker in an LXC Container is not for you, it can also easily be run in a full Virtual Machine for stronger kernel isolation. This has slightly more overhead, but is the officially recommended path for complex storage and networking stacks.
Most of the services and apps we are going to run will be inside Docker containers. We can install Docker in an LXC container for a lightweight implementation that can handle most workloads.

Let's install a new LXC container that can help with the display of our Prometheus Node Exporter data so we can make informed decisions on the resource usage of our services and apps.

Use Homarr as a visual homelab dashboard, with private Docker setup, tested integrations, appropriate permissions and a backup that supports recovery.
We have quite a few services already running in our Build Your Homelab series, and with our SSL certificates up and running, we need to start monitoring our nodes and containers using Prometheus.

Understand the Proxmox VE community post-install script, preserve the photographed VE 8.3 walkthrough and check current repository, HA and update choices before running it.
We can finally start securing our sites with the help of Let's Encrypt free certificates. In this article we will generate a certificate for our WordPress site after getting our NGINX VM ready to install certificates
Now that we have a dedicated VM up and running, it is time for us to install and set up NGINX on the newly created VM. This adds extra isolation and increases security.
Follow the original Ubuntu Server 24.04.2 VM installation chosen for the homelab's NGINX proxy, with backup precautions and clear VM-versus-LXC context.
Compare Proxmox LXC containers and KVM VMs, including kernel isolation, device access, migration limits and backups before choosing a guest type.
Route a temporary public HTTP page test through NGINX to the existing WordPress server, using narrow port forwarding and preparing for the later HTTPS stage.
Install TurnKey’s MySQL-labelled appliance, which uses MariaDB, and follow the original homelab setup and MySQL Workbench connection test.
Use NGINX and local DNS to give Proxmox a memorable address in this homelab walkthrough.
One of the first (if not the first) apps you can self host (run in your homelab) will probably be your own personal DNS server. Today we will look at running our own DNS server and how to set it up for the entire network

Our first LXC Container! Let's get a self-hosted WordPress server up and running inside Proxmox VE using the TurnKey Linux WordPress template.

Now that we have our homelab hardware sorted and Proxmox installed, it is not a bad idea to keep an eye on CPU temperature seeing as we will probably (hopefully) keep the machine powered on 24/7.
Now that we have the hardware up and running, it is time to start installing our operating system for our homelab. We have decided to run Proxmox . Proxmox is an open-source...
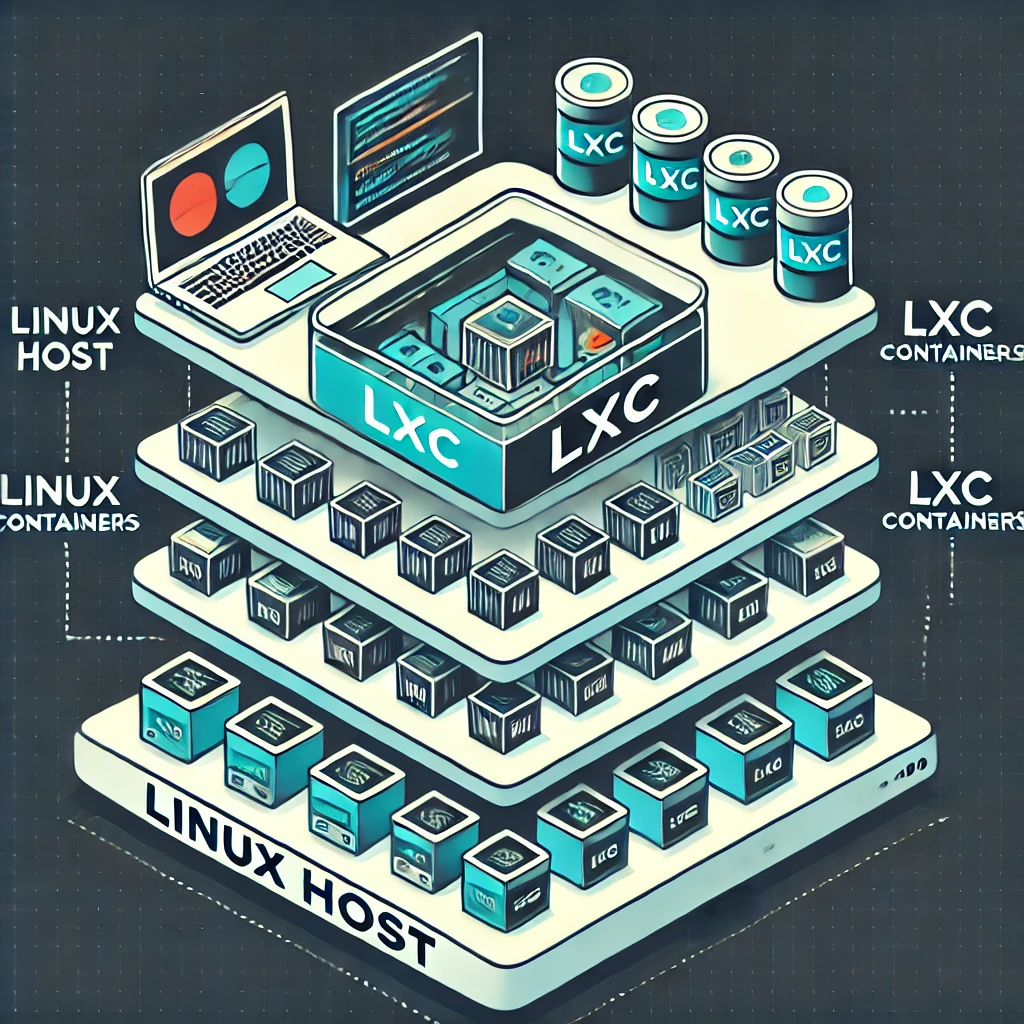
Understand LXC’s shared kernel, Docker versus system-container workflows, unprivileged mappings, Proxmox mount backups and current OCI preview boundaries.

Have you ever wished for an easy way to access all your favorite tools and applications in your home lab? Enter Homepage, a simple, customizable dashboard that brings everything together on one screen.

Organise tasks with Vikunja, understand free core and managed hosting, and plan a local Docker setup with persistent storage, access and backups.

Harvester’s home-lab suitability, current hardware requirements, VM architecture, witness-node limits and practical installation, backup and upgrade checks.

Learn Ansible with one Debian or Ubuntu host, a complete Apache playbook, verified privileges and a controlled path to broader maintenance.

Proxmox is a powerful yet user-friendly open-source platform that allows users to create and manage virtual environments. It’s mainly used for setting up and running virtual machines (VMs) and containers on a single physical server or multiple servers.

Learn the difference between images and running containers, build a local example, and plan persistent data, resource limits, updates and isolation.